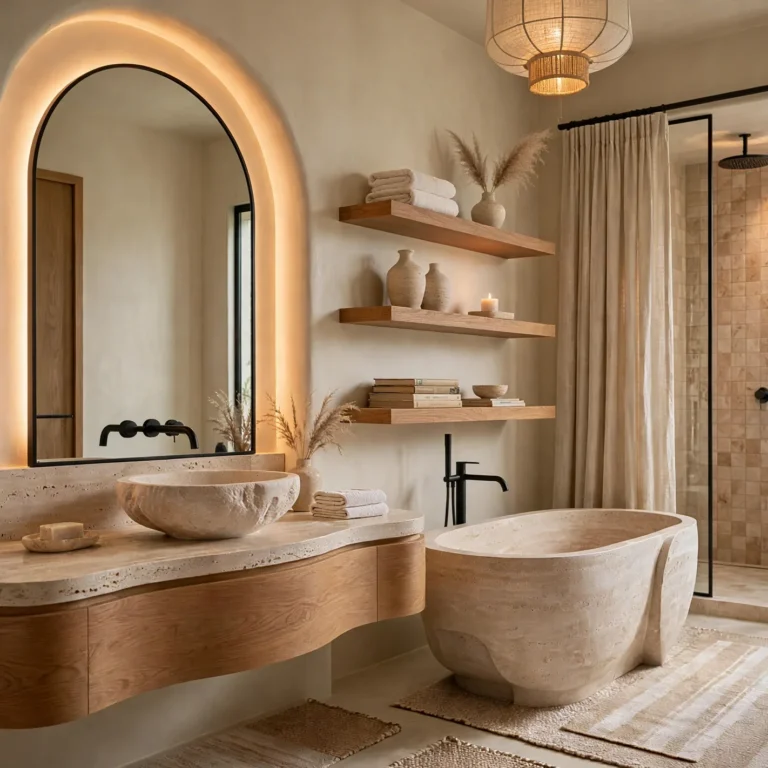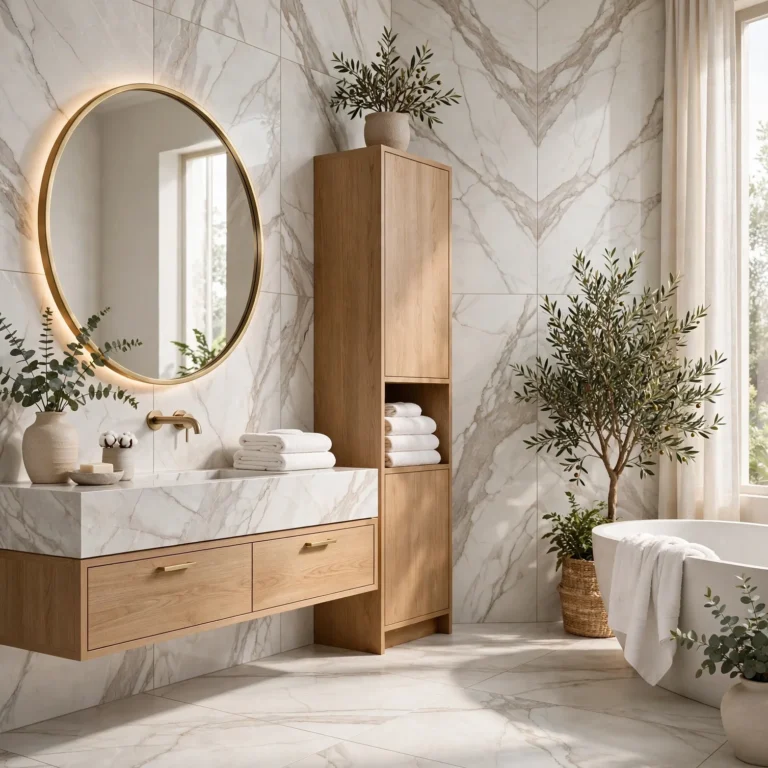
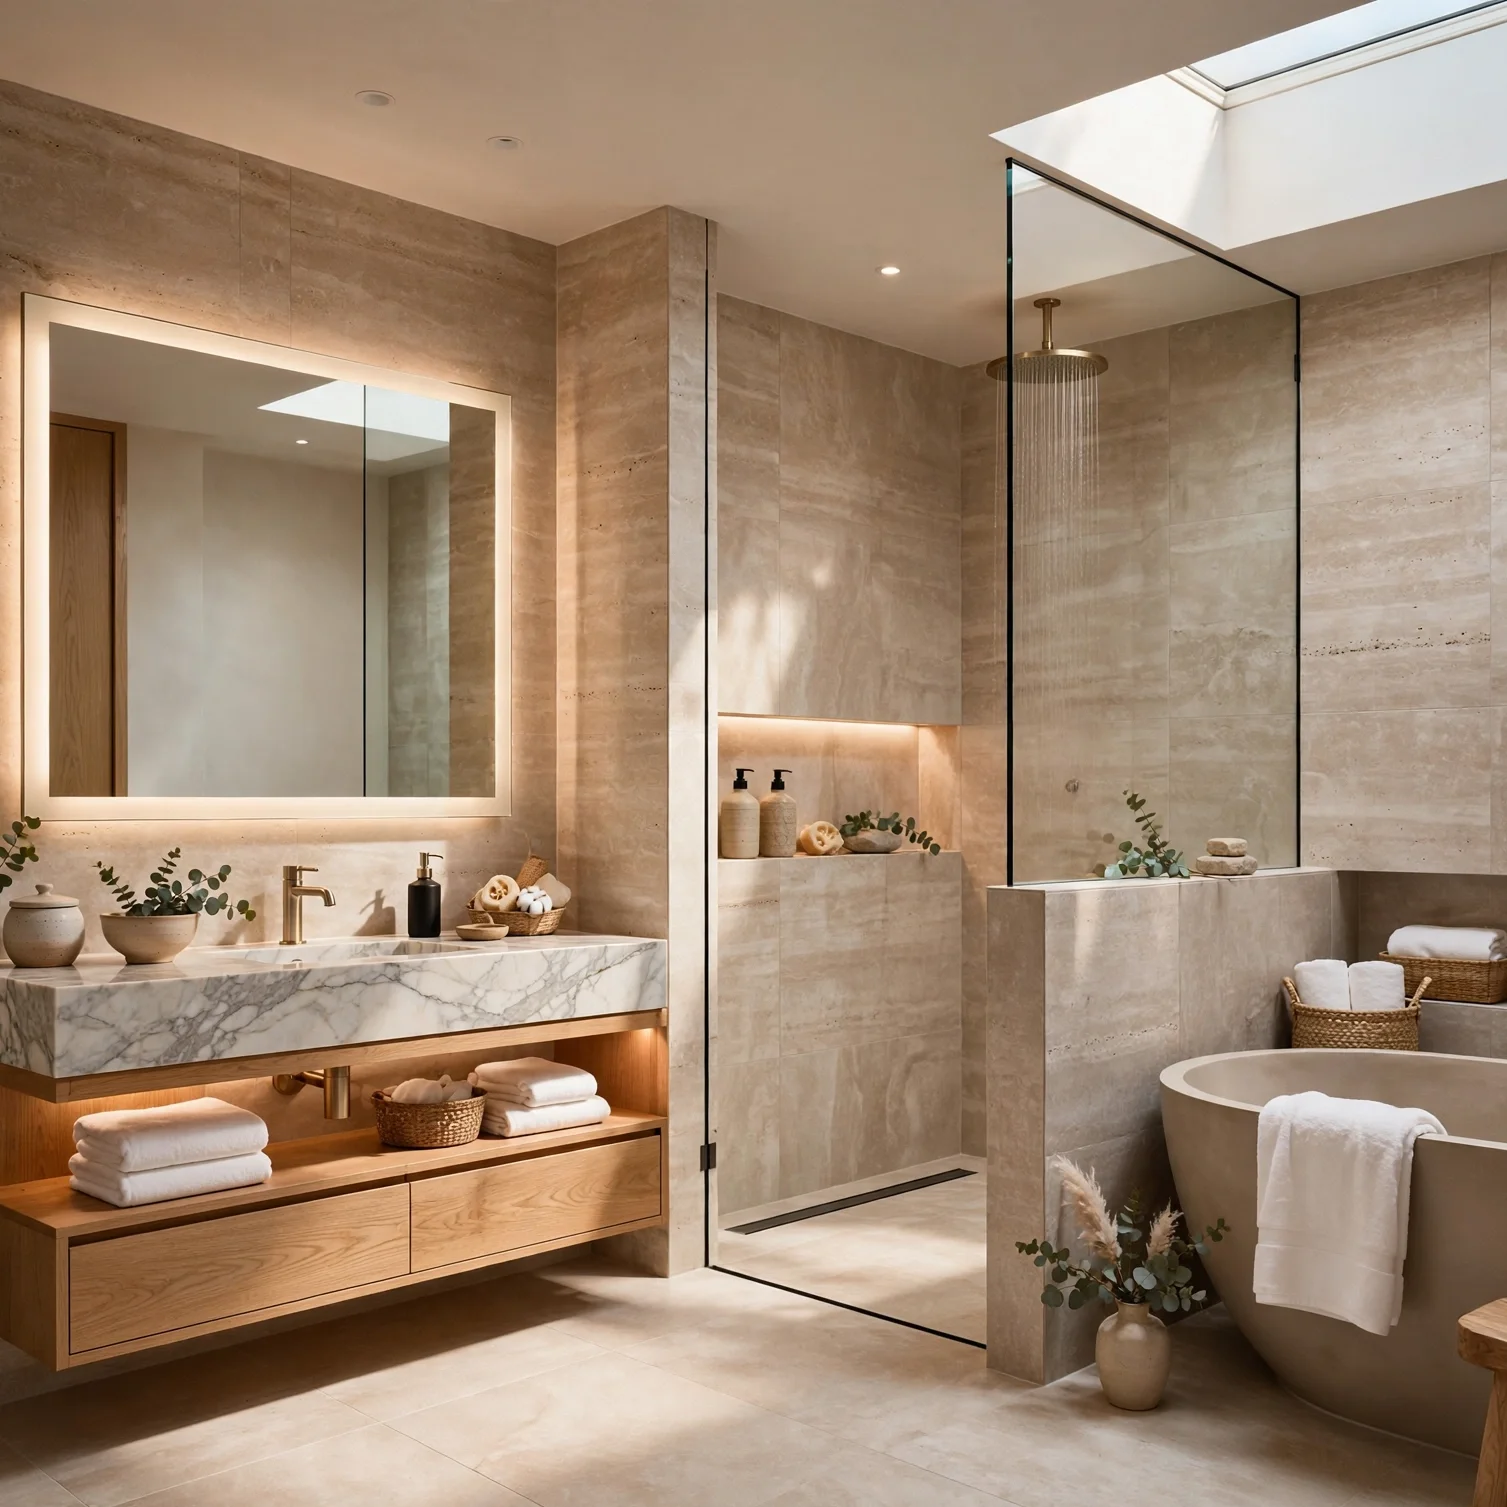
12 Dreamy Bathroom Design Layout Ideas Worth Planning
Before choosing a single tile or fixture finish, the actual arrangement of the toilet, sink, and shower determines whether a bathroom functions smoothly or creates daily friction. Bathroom design layout sets the foundation for the entire renovation, affecting everything from how many people can use the space at once to whether the door can even open fully. This guide covers twelve layout approaches used in real renovation and new-build projects, from compartmentalized plans to open, spa-style arrangements suited to different room dimensions and household needs.
Trend & Background
Renovation contractors report that layout mistakes are significantly more expensive to correct after installation than finish choices made later, which is why more homeowners now work with a designer at the earliest planning stage rather than after fixtures are already ordered. The rise of multi-person households sharing primary bathrooms has pushed layouts toward zoned, compartmentalized plans rather than a single open room housing every fixture. At the same time, existing plumbing wall locations continue to be the biggest practical constraint on which layout options are realistic without a costly re-route.
Key Takeaways
- Bathroom design layout decisions determine daily function more than any single finish or fixture choice made afterward.
- Wet and dry zone separation remains the most requested layout upgrade among current renovation clients.
- Plumbing wall location often dictates which layouts are realistic without significant added cost.
- A well-planned layout accounts for door swing, fixture clearance, and traffic flow before any material decisions are made.
1. Compartmentalized Layout
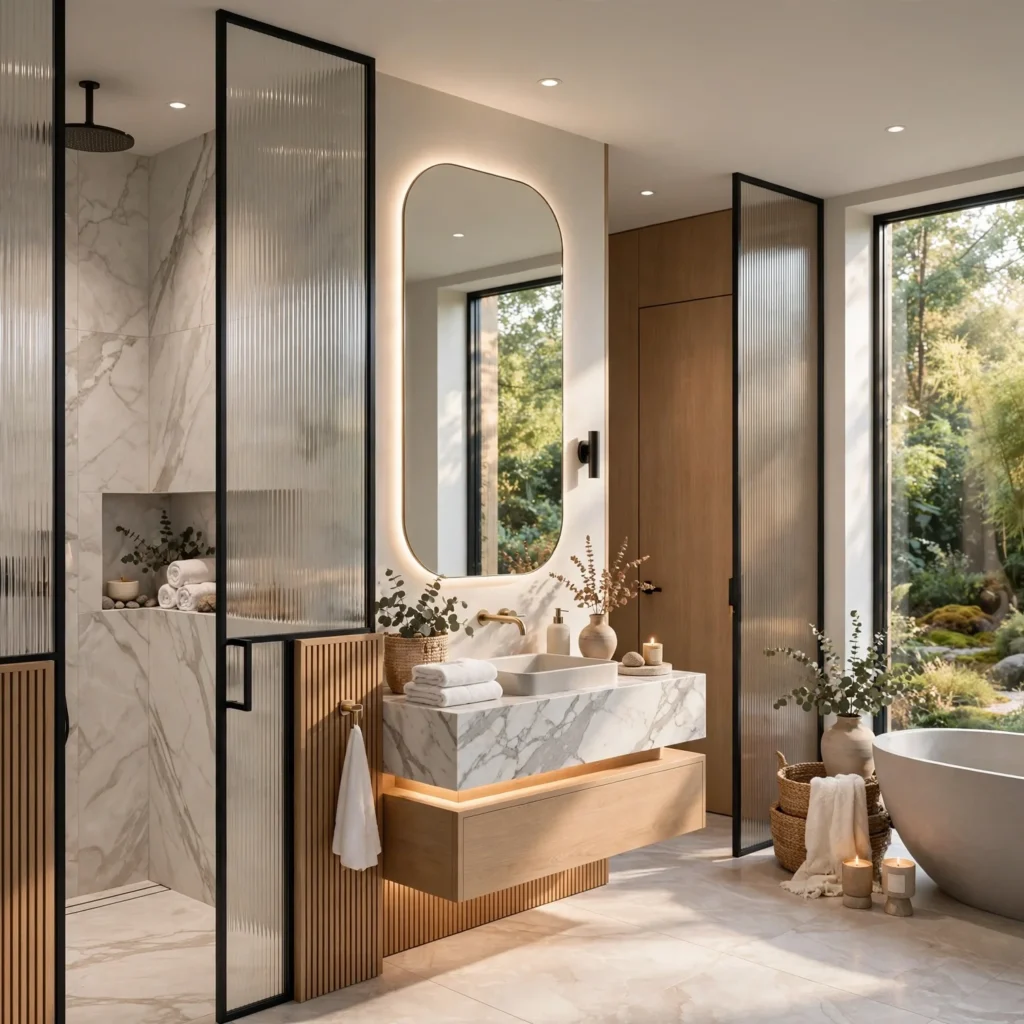
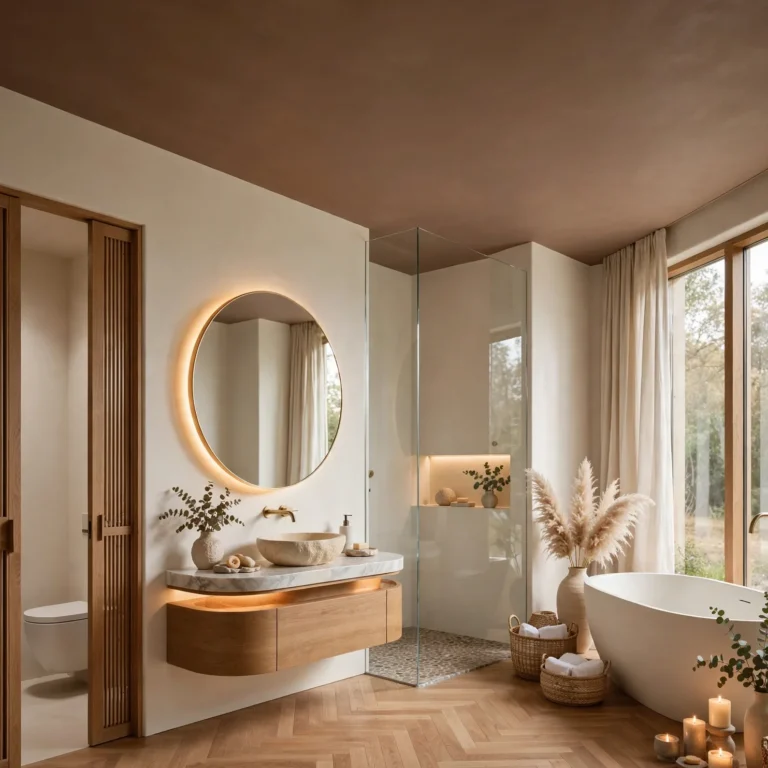
A compartmentalized layout separates the toilet into its own small enclosed space, distinct from the sink and shower/tub area, allowing more than one person to use the bathroom simultaneously without direct sightlines between fixtures. This plan typically requires at least 3 by 6 feet for the enclosed toilet compartment alone, in addition to the room’s remaining square footage. It works particularly well in primary bathrooms shared by a couple, where privacy during simultaneous use matters more than an open, unified layout.
2. Wet and Dry Zone Separation
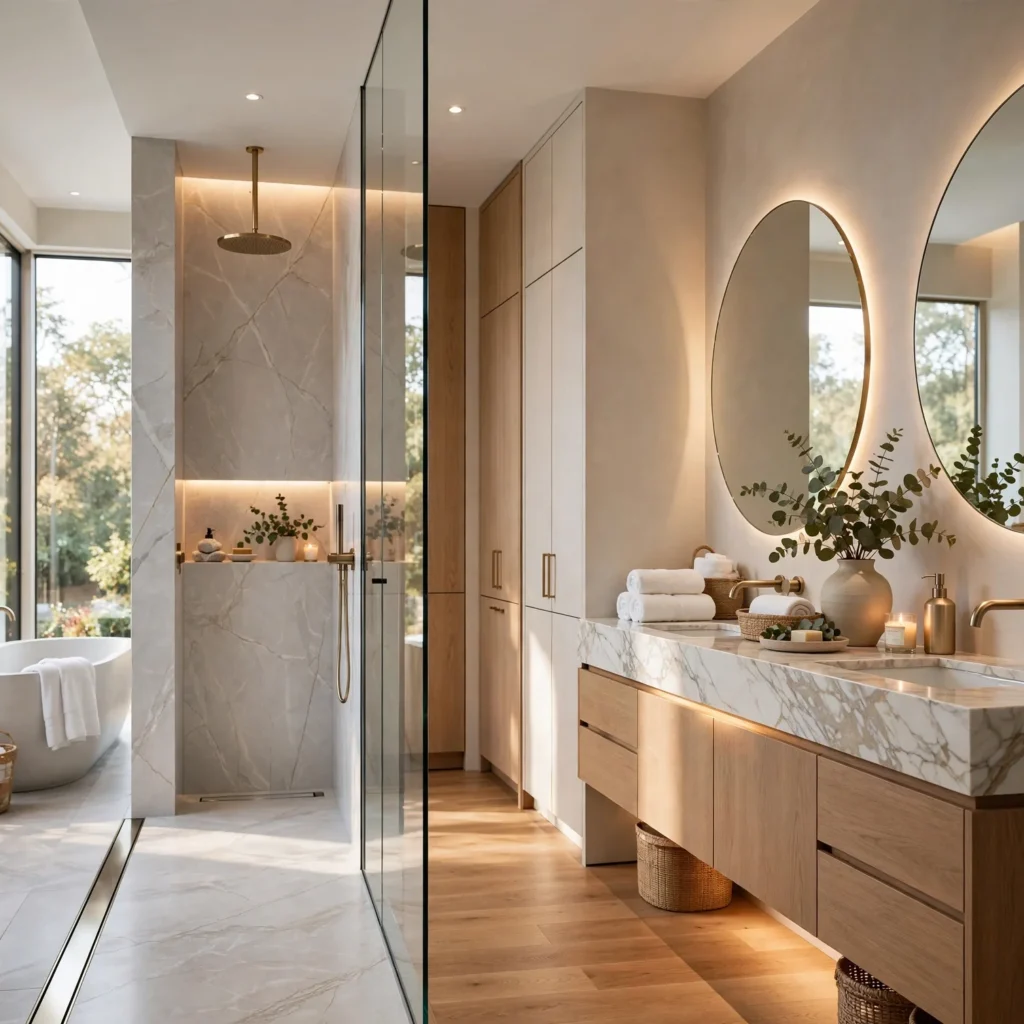
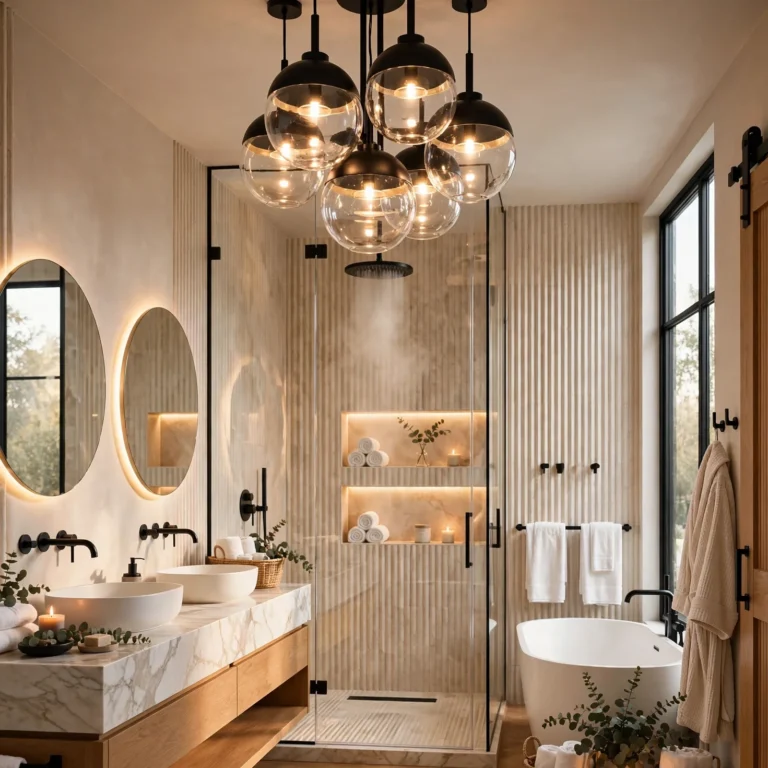
Dividing the bathroom into a wet zone, containing the shower and sometimes the tub, and a dry zone for the vanity and toilet, keeps water contact limited to one defined area rather than spreading across the entire room. A half-glass partition or a slight floor level change often marks the transition between the two zones without requiring a full wall. This layout has become a standard planning consideration in mid-to-high budget renovations, since it reduces daily cleanup and moisture exposure throughout the room.
3. Galley Bathroom Layout
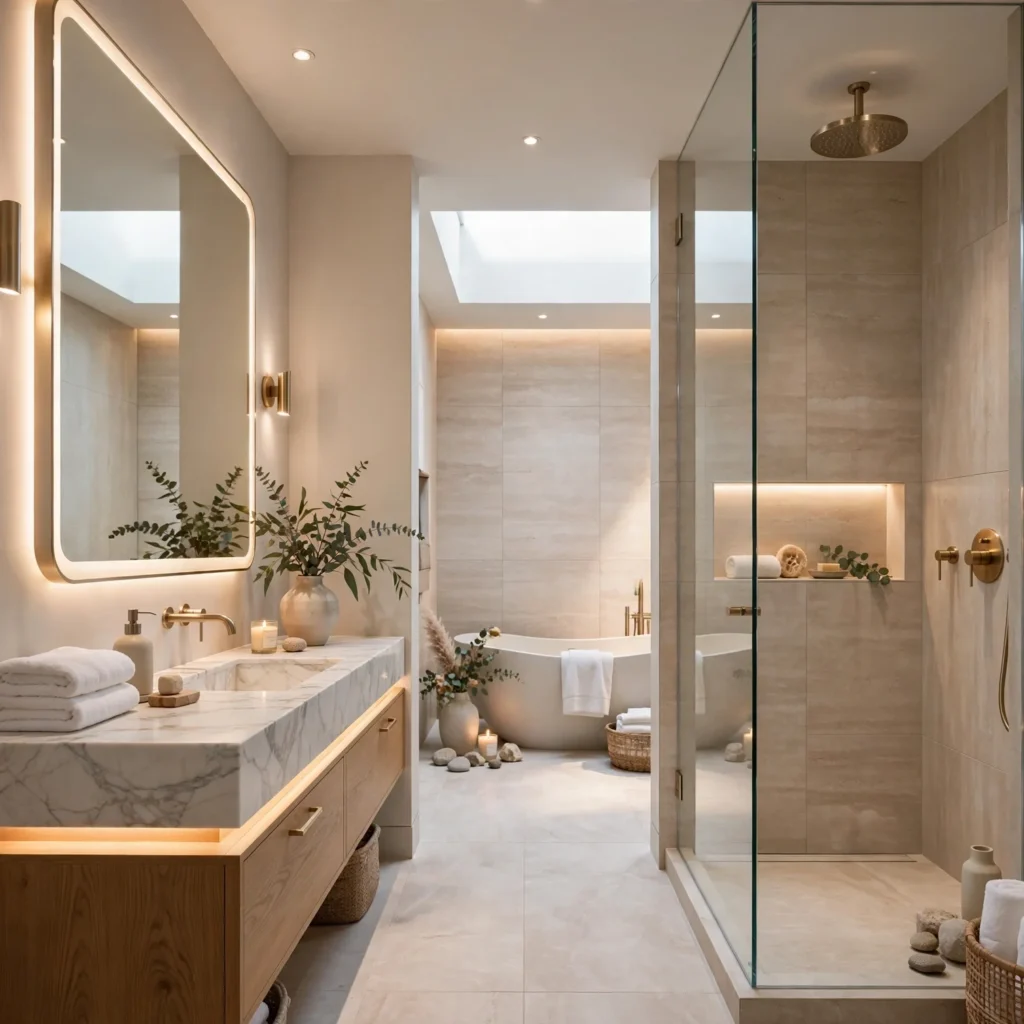
A galley layout places fixtures along two parallel walls, similar to a galley kitchen, making it one of the more space-efficient plans for narrow bathrooms common in older homes and apartments. This arrangement keeps the vanity and shower or tub across from each other, with the toilet typically positioned at the end of the run. A minimum width of around 5 feet is generally needed between the two parallel walls to keep the walkway from feeling cramped.
| Layout | Minimum Recommended Width |
| Galley | 5 feet |
| Compartmentalized | 7 feet |
| Open Single-Wall | 6 feet |
4. Single-Wall Layout
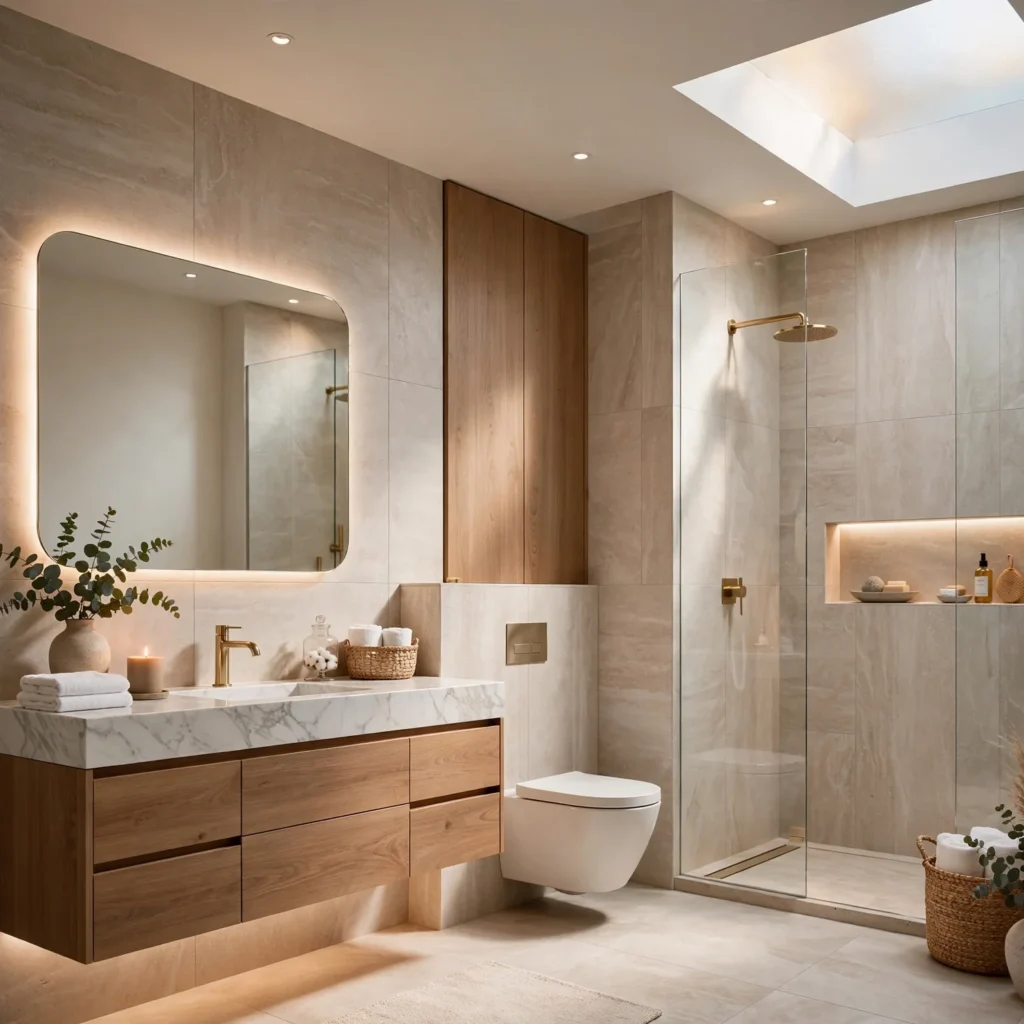
A single-wall layout places the toilet, sink, and shower all along one continuous wall, making it the most space-efficient plan for small powder rooms or secondary bathrooms with limited square footage. Because everything sits on one wall, plumbing costs stay lower than a layout requiring multiple wet walls, since all supply and drain lines run through a single stud bay. This plan works best when the room’s opposite wall can remain completely open for door clearance and movement.
Need more storage? Check out our smart bathroom ceiling design for small and large bathrooms.
5. His-and-Hers Double Vanity Zone
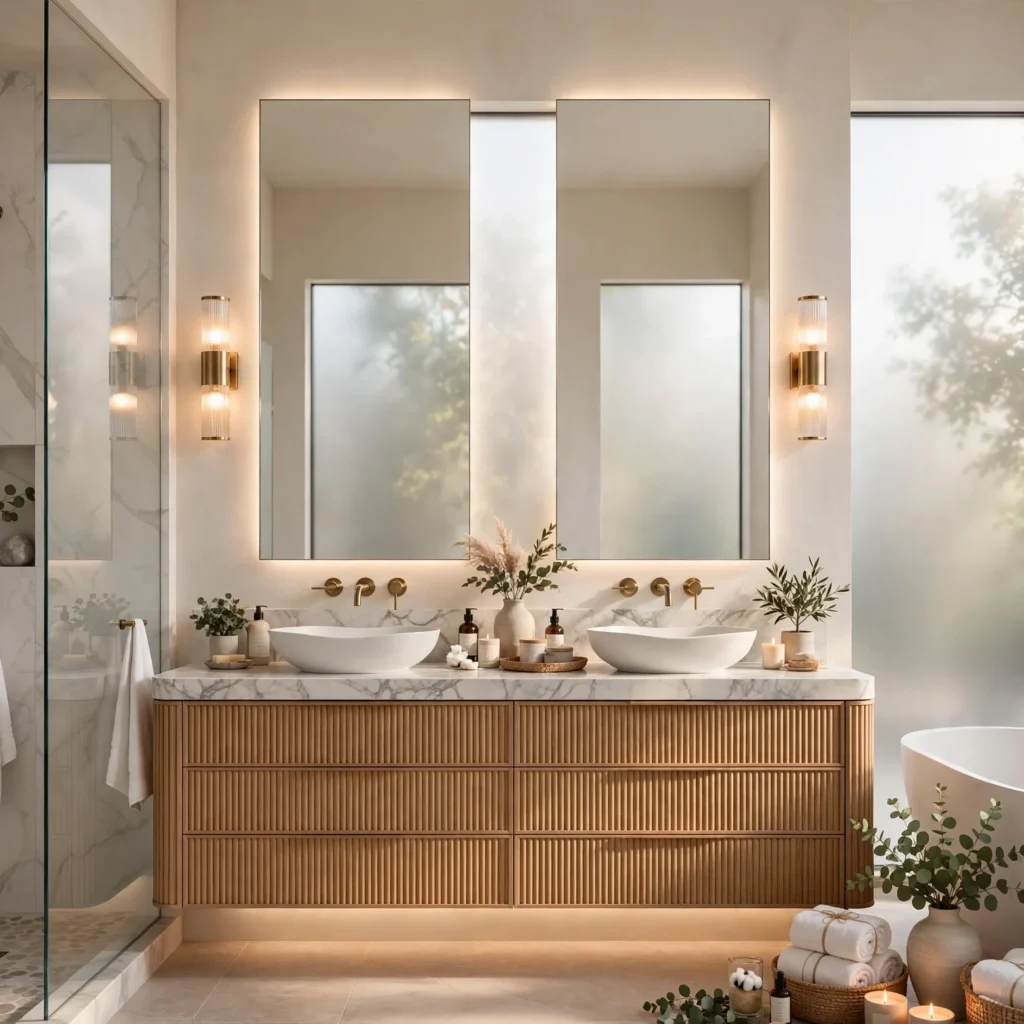
Positioning two separate sink stations at opposite ends of the vanity wall, each with its own storage, mirror, and light fixture, reduces morning bottlenecks in a primary bathroom shared by two people. This layout generally requires a vanity run of at least 60 inches to keep both stations comfortably spaced without crowding. Placing the shower or tub at the room’s opposite end, rather than between the two sink stations, keeps the wet zone from interrupting the vanity’s continuous run.
6. L-Shaped Bathroom Layout
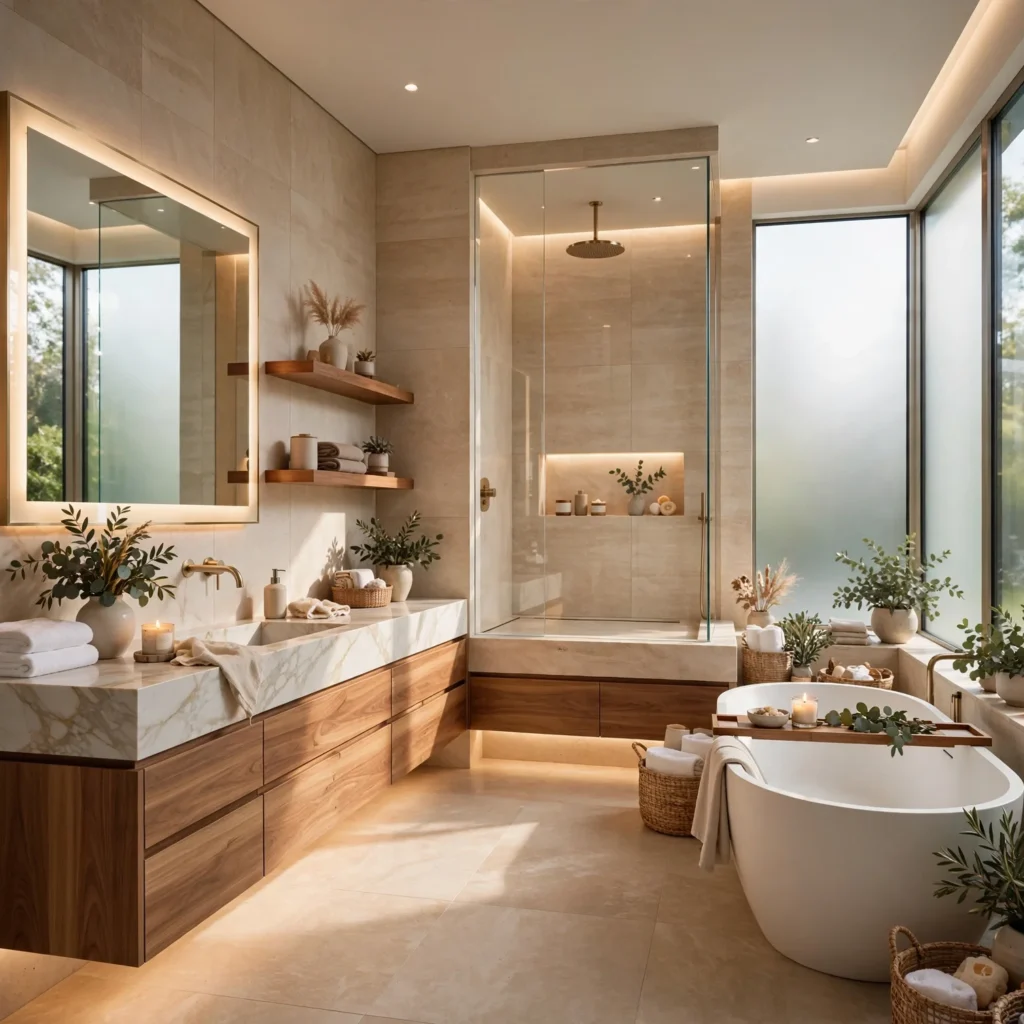
An L-shaped layout uses two perpendicular walls to arrange fixtures, typically placing the vanity along one wall and the shower or tub along the adjoining wall, leaving the room’s remaining floor space open. This plan adapts well to irregularly shaped rooms, since the perpendicular arrangement can accommodate a variety of room proportions better than a strict single-wall or galley plan. It also allows the toilet to be tucked into the L’s corner, creating some visual separation without a full compartment wall.
7. Open Concept Primary Bathroom
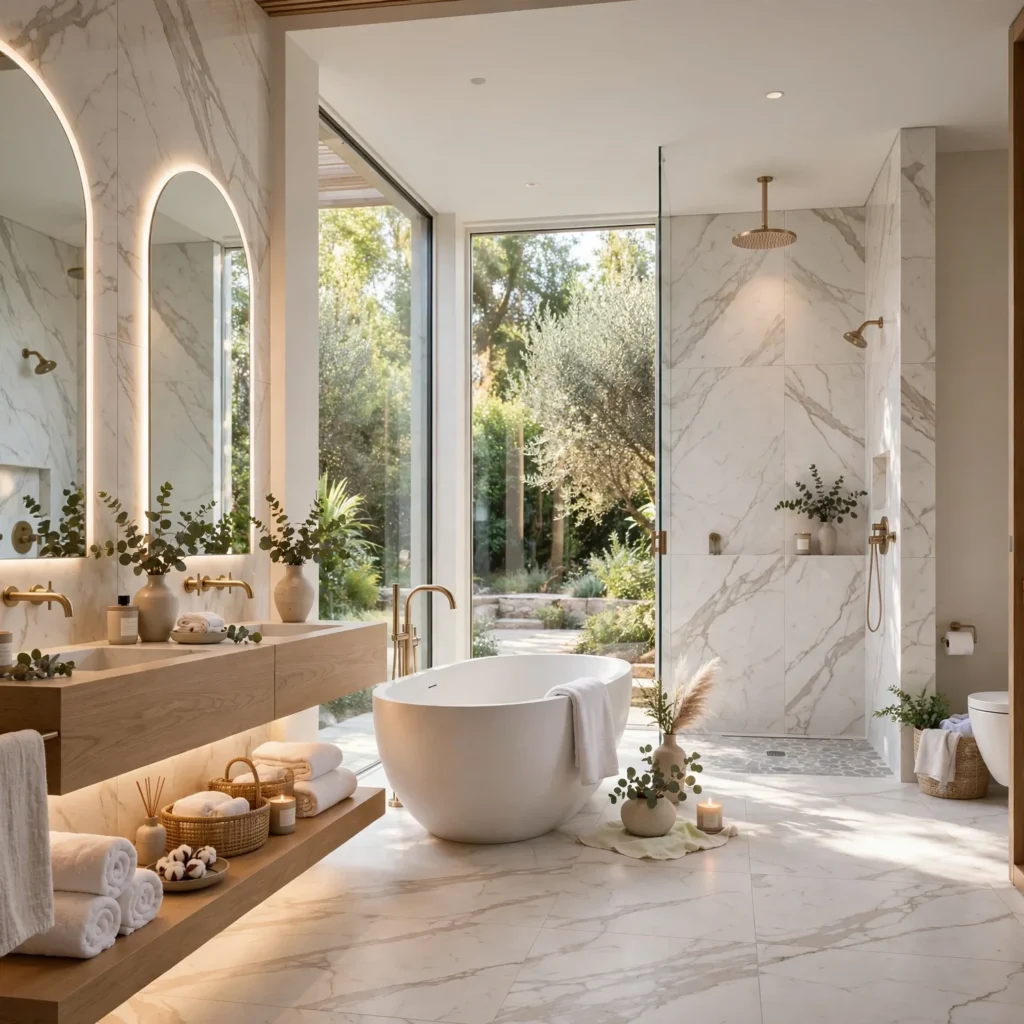
An open concept layout removes the wall between the primary bedroom and bathroom, or minimizes interior walls within the bathroom itself, creating one continuous space that reads as an extension of the bedroom rather than a separate enclosed room. This layout relies on the shower or wet zone being fully self-contained, since there’s no door to block sound or moisture from reaching the sleeping area. It works best in primary suites with generous square footage, where the open plan can still accommodate a separate water closet for privacy.
8. Central Island Vanity
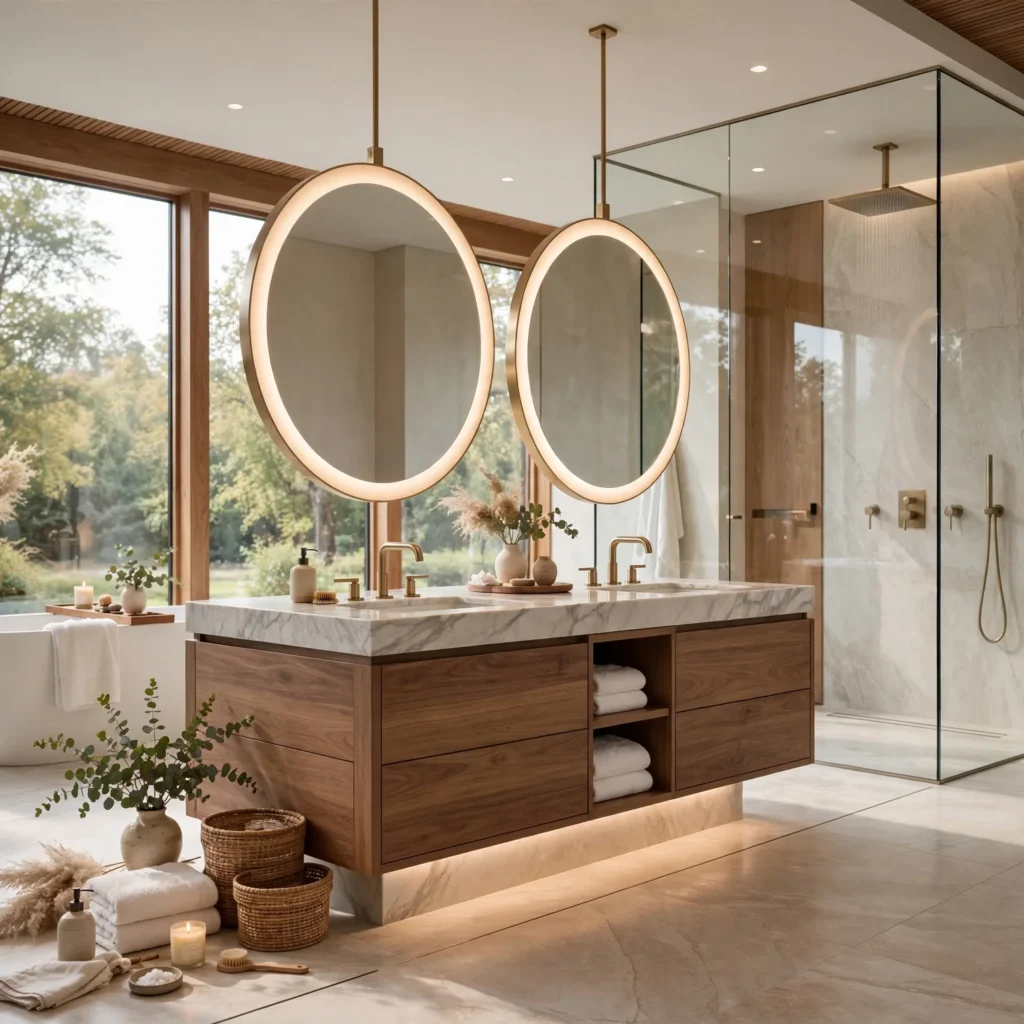
Rather than placing the vanity against a wall, a central island vanity stands freestanding in the middle of a larger bathroom, similar to a kitchen island, creating a sculptural focal point and freeing up wall space for storage or a separate shower enclosure. This layout requires a bathroom large enough to maintain clearance on all sides of the island, generally at least 200 square feet total. Plumbing for a central island vanity is more complex and costly than a wall-mounted version, since supply and drain lines have to run beneath the floor to a mid-room location.
9. Pocket Door Layout
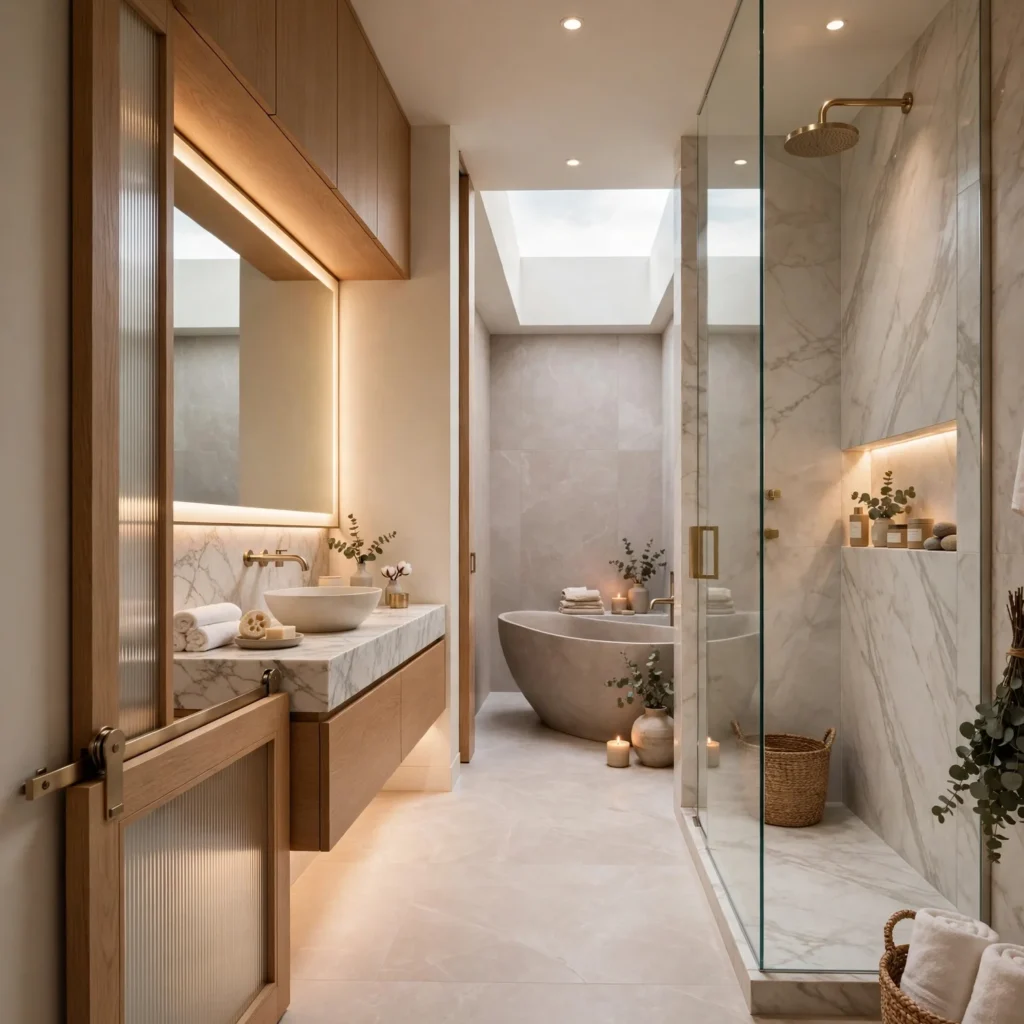
Incorporating a pocket door that slides into the wall, rather than a standard swinging door, reclaims the floor space a door’s swing arc would otherwise require, which matters significantly in tighter bathroom layouts. This requires confirming there’s no plumbing or electrical conduit inside the wall cavity where the door will slide, which is easier to plan during a full renovation than to retrofit into an existing wall. It’s particularly useful in single-wall or galley layouts where every square foot of clear floor space affects daily movement.
10. Zoned Wet Room Layout
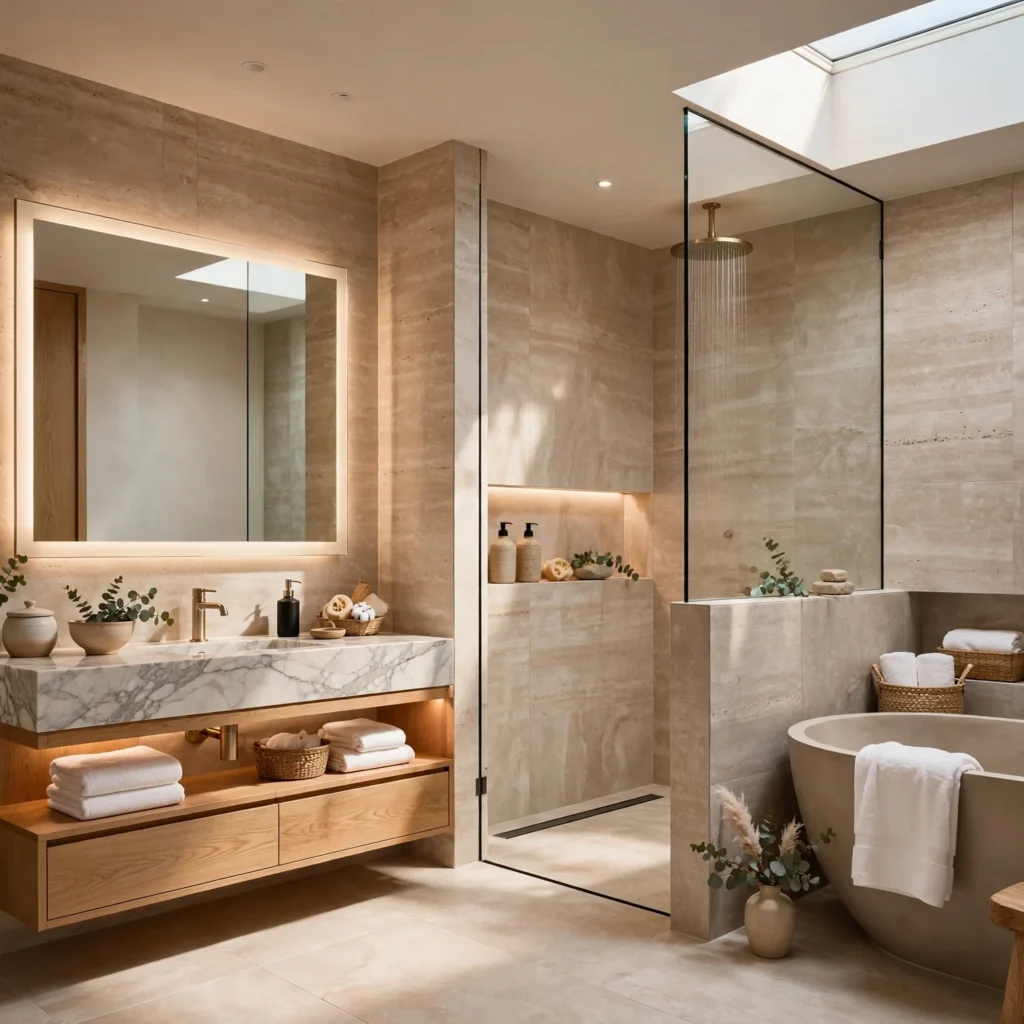
A wet room layout removes the enclosed shower stall entirely, waterproofing the full bathroom floor and sloping it toward a linear drain, so the shower area blends into the rest of the room rather than being visually or physically separated. This plan requires careful positioning of the toilet and vanity away from direct water spray, even without a physical barrier, to keep those areas from getting wet during regular shower use. It works best in larger primary bathrooms where the open plan has enough room to keep dry-zone fixtures comfortably clear of the shower area.
11. Powder Room Layout
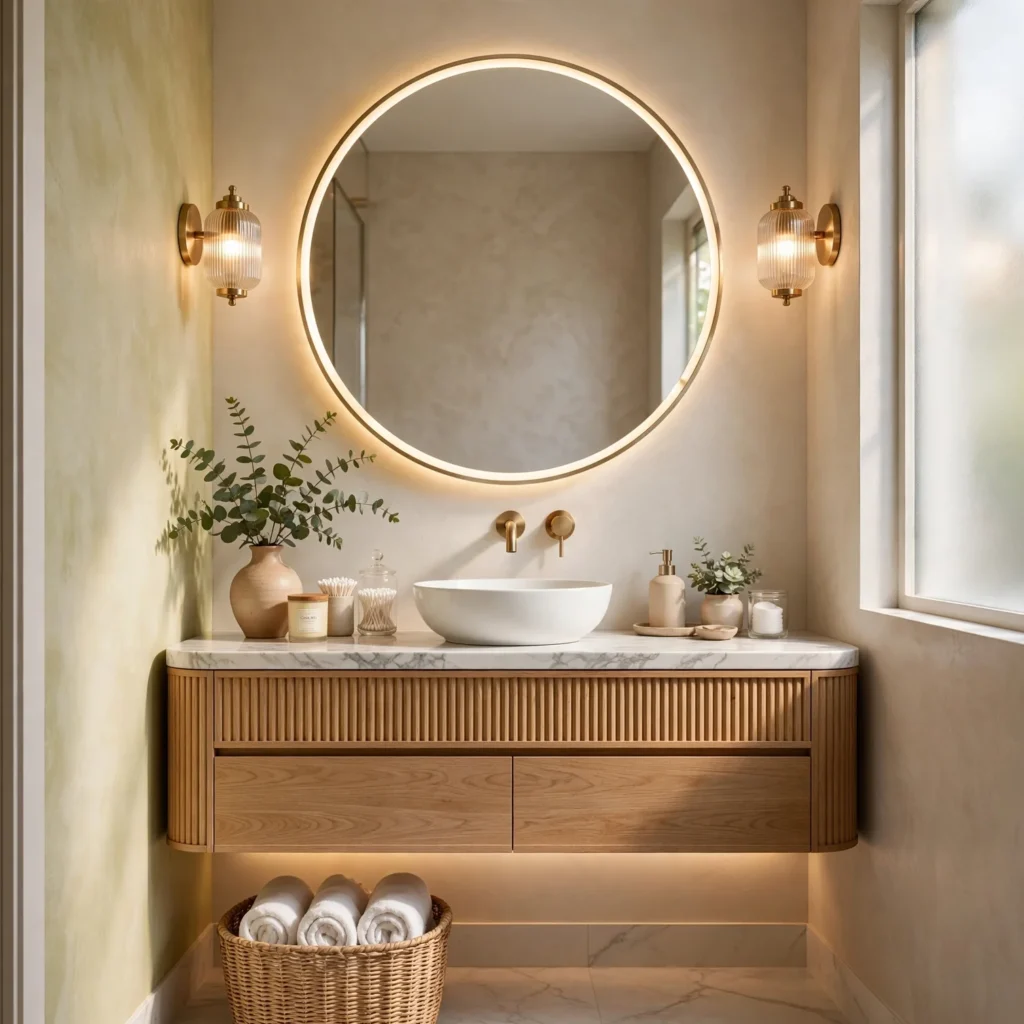
A powder room, containing only a toilet and a small sink without a shower or tub, follows its own compact layout logic distinct from a full bathroom, typically fitting into a footprint as small as 18 square feet. Positioning the sink near the entry door and the toilet toward the back of the room makes the most efficient use of a narrow footprint. This layout often benefits from a pedestal or wall-mounted sink instead of a full vanity, since floor space is at more of a premium in a room this size.
12. Jack-and-Jill Layout
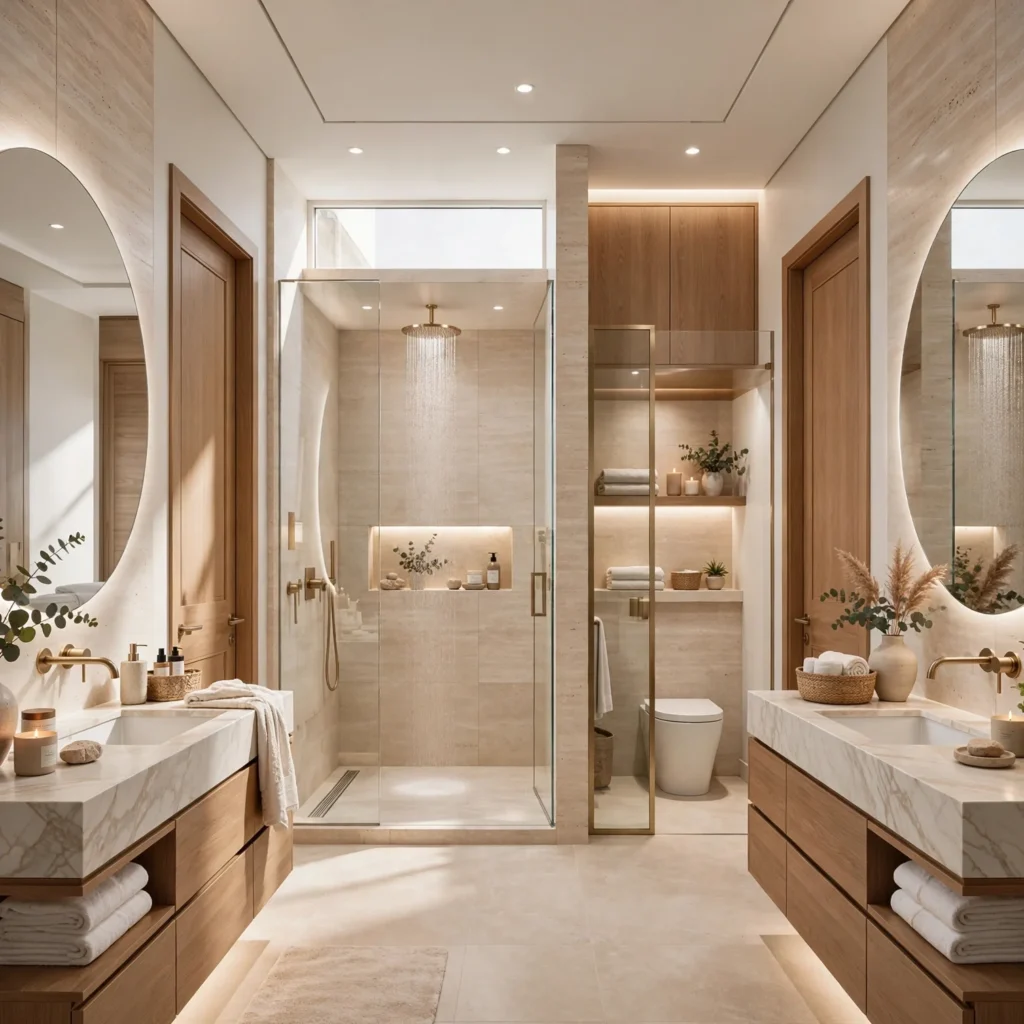
A Jack-and-Jill layout connects one bathroom to two separate bedrooms through individual doors, typically used in family homes where siblings or roommates share a bathroom without a direct hallway connection. This plan usually incorporates a compartmentalized toilet and shower area, allowing one person to use the sink while another uses the shower behind a separate door. Confirming door placement relative to each bedroom’s layout is critical here, since the shared room needs to feel accessible and private from both connecting sides.
Shop the Look
A half-glass shower partition works well for defining a wet zone without requiring a full wall in an open bathroom layout. A wall-mounted pedestal sink suits a compact powder room layout where floor space is limited. A pocket door hardware kit reclaims floor space in a tight galley or single-wall bathroom plan. A freestanding vanity console with open shelving beneath supports the central island vanity concept in a larger primary bathroom.
Common Mistake to Avoid
A common mistake in bathroom design layout planning is finalizing fixture selection and placement before confirming existing plumbing wall locations with a contractor, which can force costly changes mid-renovation if a preferred layout requires relocating supply or drain lines. Homeowners often fall in love with a specific island vanity or compartmentalized plan without checking whether the home’s existing plumbing can support it affordably. Confirming these details at the planning stage, before ordering any fixtures, prevents this expensive and disruptive adjustment later.
FAQs
What is the most space-efficient bathroom layout?
A single-wall layout is generally the most space-efficient option, since it places the toilet, sink, and shower along one continuous wall, minimizing both the room’s footprint and the plumbing costs associated with running lines to multiple walls. This layout works particularly well in small powder rooms or secondary bathrooms with limited square footage. Larger households needing more simultaneous-use capacity typically move toward a compartmentalized or L-shaped layout instead.
How much space do I need for a compartmentalized toilet area?
A compartmentalized toilet area typically needs a minimum of 3 by 6 feet to comfortably enclose the fixture with a door, in addition to the bathroom’s remaining square footage for the vanity and shower. This generally means the overall bathroom needs to be at least 7 feet in one dimension to accommodate the layout without feeling cramped. Smaller bathrooms usually aren’t well suited to this plan, since the enclosed compartment would leave too little room for the remaining fixtures.
Is a wet room layout practical for a family bathroom?
A wet room layout can work for a family bathroom, but it requires more consistent squeegeeing and drying to keep the non-shower portions of the floor from staying wet longer than intended, which may not suit households with young children moving through the space frequently. It’s generally better suited to primary bathrooms with more controlled, single-household use than a shared family bathroom seeing heavier daily traffic. A standard curbless shower with a defined enclosure often works better for busier family bathrooms.
What’s the difference between a Jack-and-Jill layout and a shared hallway bathroom?
A Jack-and-Jill layout connects the bathroom directly to two separate bedrooms through individual doors, without requiring access from a common hallway, while a shared hallway bathroom is accessed by anyone in the home through a single hallway-facing door. The Jack-and-Jill plan typically works better for siblings or roommates who want more private, direct access from their own rooms. It does require careful door placement planning to ensure the layout works logically for both connecting bedrooms.
How do I know if my bathroom can support an island vanity?
An island vanity generally requires a bathroom with at least 200 square feet of total floor space to maintain clearance on all sides of the freestanding fixture, along with an existing floor structure that can accommodate below-floor plumbing routed to a mid-room location. This layout is significantly more complex and costly than a wall-mounted vanity, since supply and drain lines have to run beneath the floor rather than through a single wall. Consulting a plumber early in the planning process confirms whether the specific room can support this layout without an expensive structural modification.
Conclusion
Bathroom design layout works best when the arrangement of fixtures and traffic flow are settled before any finish decisions are made, since a well-planned layout makes daily use easier regardless of the materials chosen afterward. Save this guide to Pinterest for your next renovation project, and check out our related post on bathroom design styles for finish and material inspiration to pair with your layout.