15 Gorgeous Container House Design Ideas to Inspire Your Perfect Compact Home Build
Building with shipping containers solves the cost and timeline problems of traditional construction, but only if the design decisions actually account for the material’s quirks, which is exactly where solid container house design ideas start. This guide walks through fifteen practical concepts, from single-container studio layouts to off-grid solar setups, that apply whether you’re planning a single-unit build or a stacked multi-container home. You’ll learn what insulation, cladding, and structural choices actually work with corrugated steel, roughly what to budget, and how to avoid the mistakes that turn a promising container project into a costly retrofit. Each idea includes real dimensions and material names.
Trend & Background
Container housing has moved from a niche experimental build type toward a more mainstream option as material costs for traditional framing have risen and pre-certified structural shells have become easier to source. Insulated panel systems designed specifically for corrugated steel, along with pre-cut window and door kits sized to standard container openings, have turned what used to require custom fabrication into a more standardized process. This matters now because zoning and building code acceptance of container structures has also expanded in many regions, making permitting a less significant barrier than it was even a few years ago.
Key Takeaways
- Fifteen ideas cover layout, structural, and finishing decisions specific to shipping container homes.
- Reference tables are included for container sizing, insulation R-value, and cladding cost so you can plan before you build.
- Most single-container builds finish faster than a comparable stick-built structure of the same square footage.
- Combining containers into stacked or modular configurations opens up layouts that a single unit can’t achieve alone.
1. Single Container Studio Layout
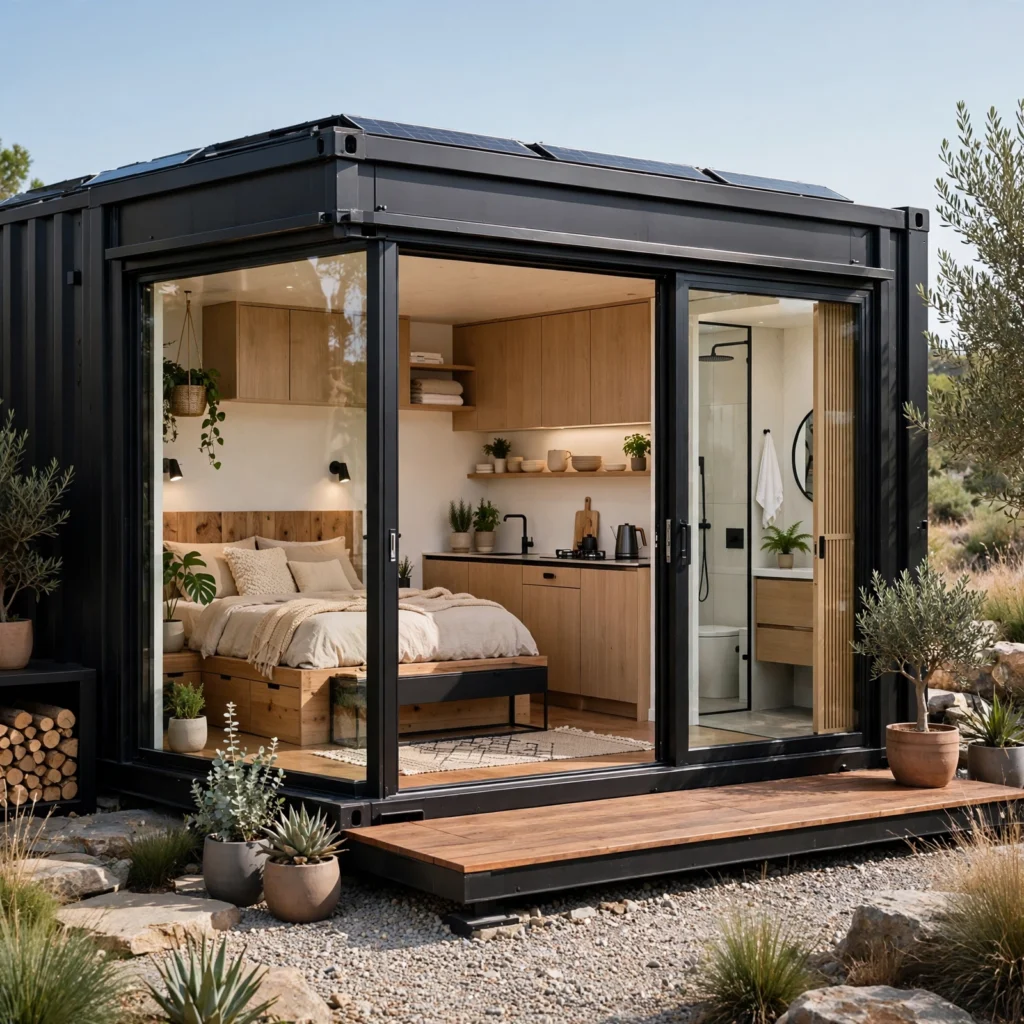
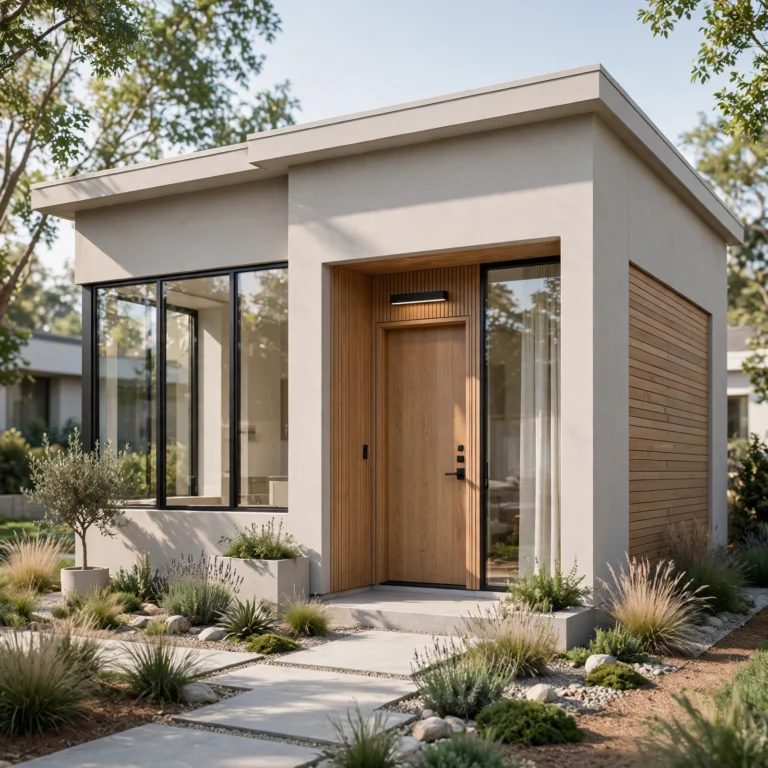
A single 20-foot or 40-foot container makes a functional compact studio when the layout keeps plumbing and electrical runs concentrated along one wall to minimize costly rerouting. Position the kitchen and bathroom at one end, sharing a common wall for the water lines, and leave the remaining length open for a combined living and sleeping area. This configuration keeps the build close to a single container’s structural limits without requiring any cutting beyond window and door openings.
| Container Size | Interior Sq Ft | Best For |
| 20-foot | ~160 sq ft | Single studio or office |
| 40-foot | ~320 sq ft | Studio with separate bedroom |
| 40-foot high cube | ~320 sq ft, 9’6″ ceiling | Loft-style single unit |
2. Stacked Container Configuration
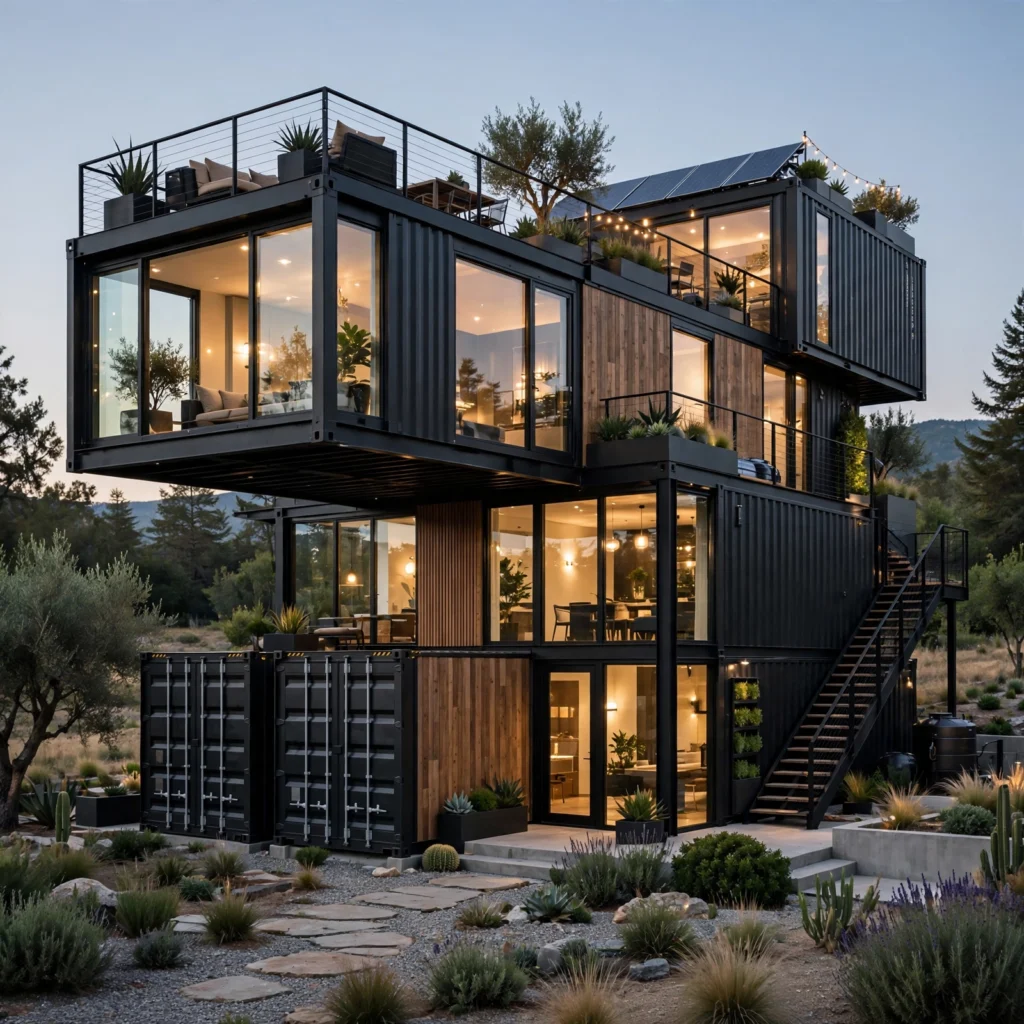
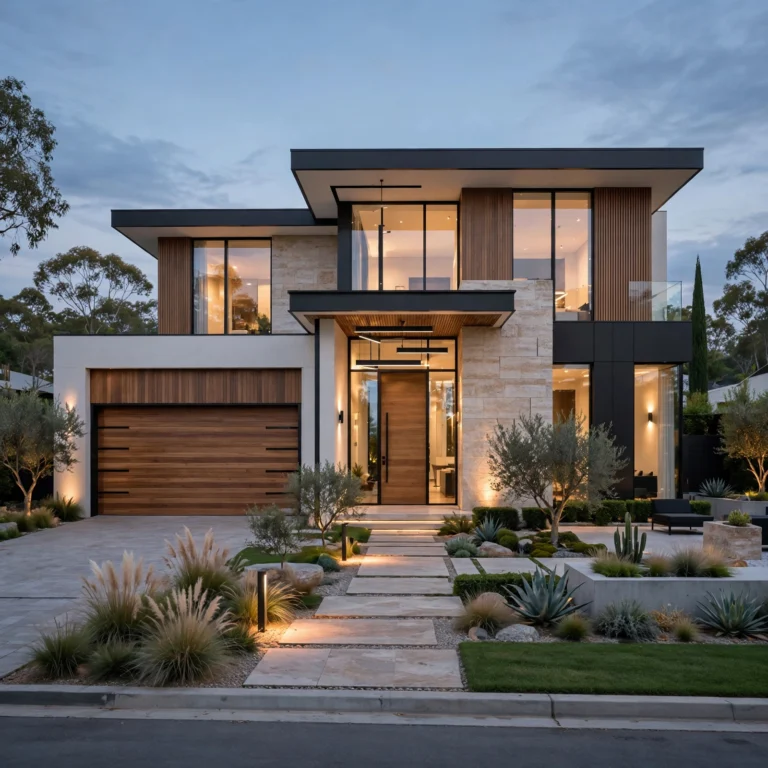
Stacking two containers, offset slightly to create a covered porch below, adds a second floor without the foundation footprint of a side-by-side layout. The lower container needs reinforced corner castings and a continuous steel beam where any wall sections are removed to support the load above. This configuration works particularly well on narrow lots, since it keeps the ground floor footprint small while still delivering two full living levels.
In order to see more options for tiny house design CLICK HERE
3. Container Cladding Options
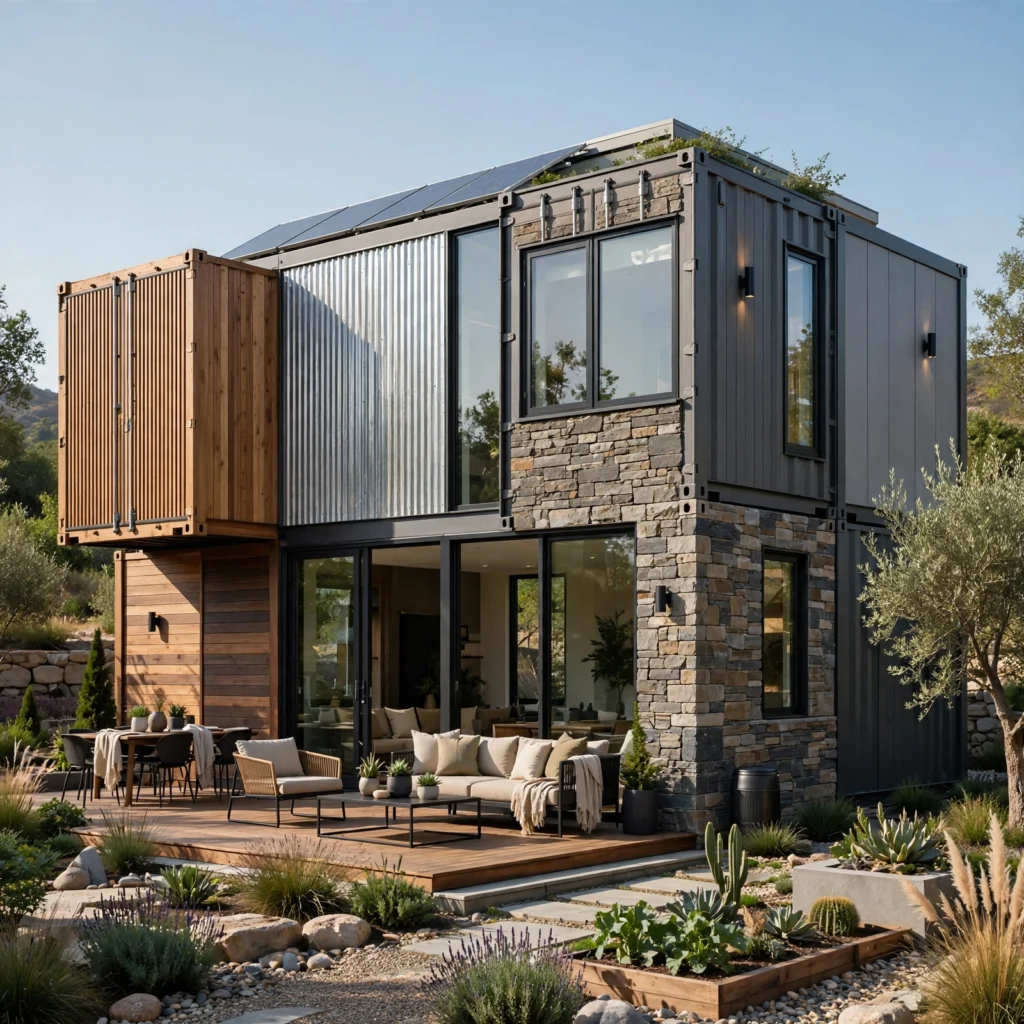
Cladding the exterior in wood, fiber cement, or metal panel over furring strips hides the corrugated steel profile and adds an insulation cavity at the same time. Attach horizontal furring strips directly to the container’s ribs using self-tapping screws, then install the cladding material over the strips rather than directly against the steel, which prevents thermal bridging and moisture buildup between the two surfaces.
| Cladding Type | Approx. Cost per Sq Ft | Maintenance Level |
| Corrugated metal | $4–$7 | Low |
| Fiber cement panel | $6–$10 | Low |
| Wood siding | $5–$9 | Moderate |
4. Insulation and Vapor Barrier System
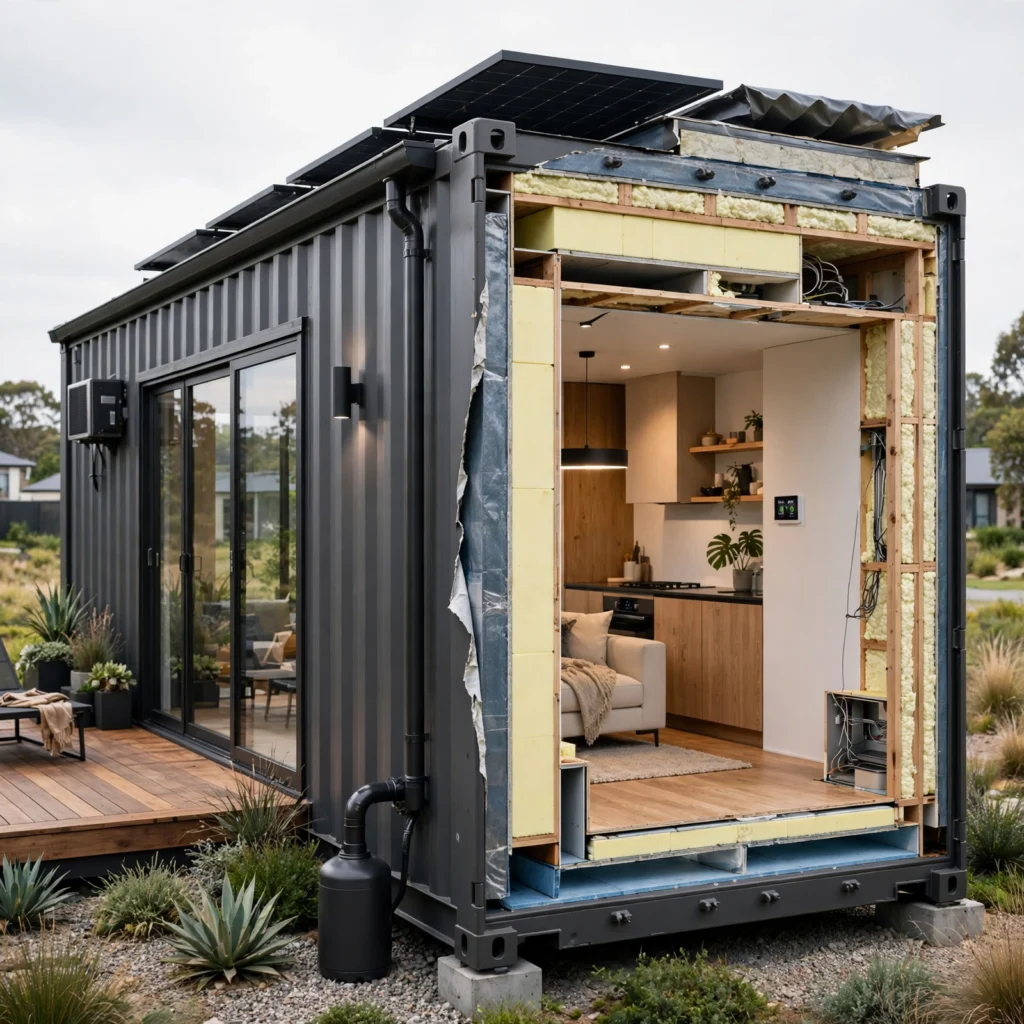
Closed-cell spray foam is the most reliable insulation choice for container walls because it adheres directly to corrugated steel and doubles as a vapor barrier in one application, avoiding the condensation problems that batt insulation can cause against metal. Apply a minimum of two inches for a reasonable R-value in moderate climates, increasing to three or four inches in colder regions. Furring strips or a metal stud wall are then built over the foam to hold interior finish materials.
| Climate Zone | Recommended Foam Thickness | Approx. R-Value |
| Mild | 2 inches | R-13 |
| Moderate | 3 inches | R-19 |
| Cold | 4 inches | R-25 |
5. Cut-Out Window Openings
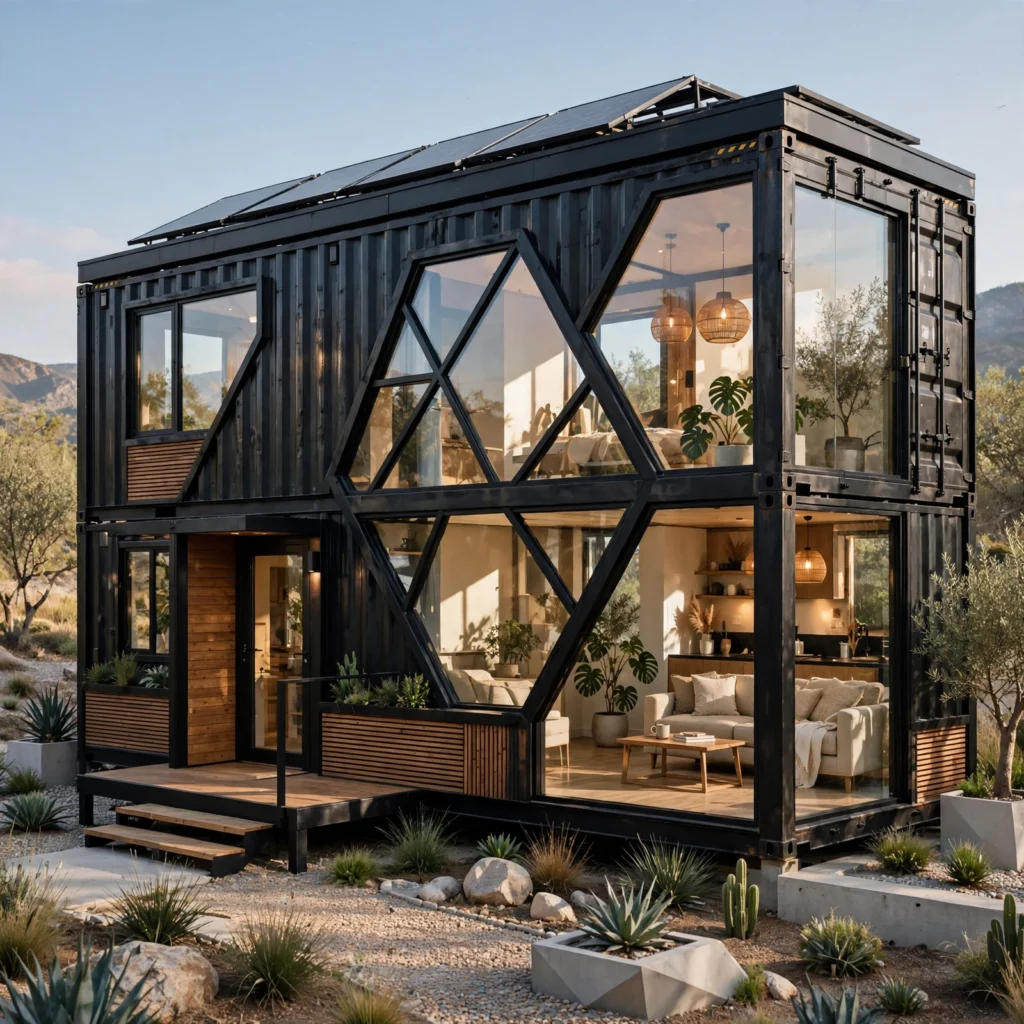
Cutting large window openings into a container’s corrugated walls requires welded steel angle framing around the perimeter of each cut to restore the structural strength lost when steel is removed. Plan openings during the design phase rather than after delivery, since a certified welder needs to reinforce each cut correctly to keep the container’s structural integrity intact. Grouping window openings on non-load-bearing sections of wall, where possible, simplifies this reinforcement work.
6. Container House Design Foundation Piers
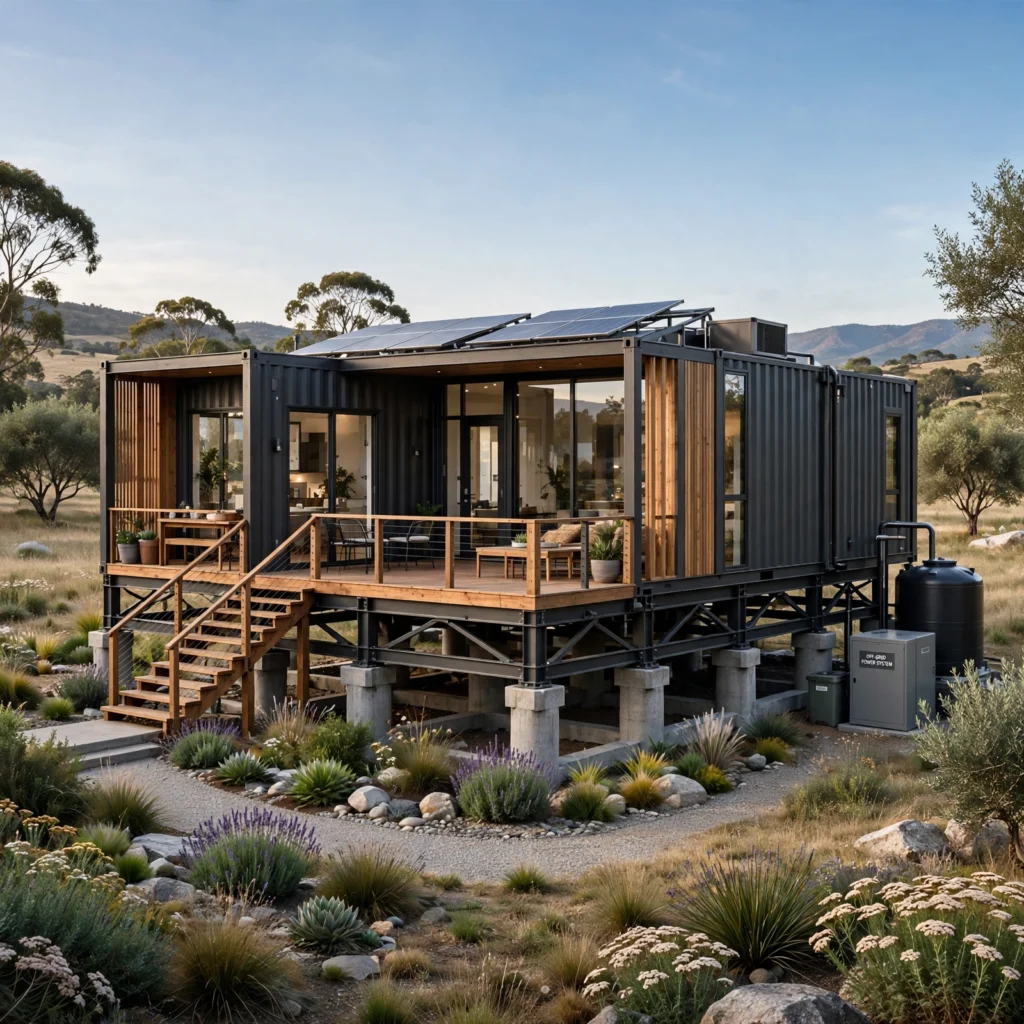
A pier foundation, using concrete footings placed at each of the container’s eight corner castings, is typically the fastest and least expensive foundation option for a container house design compared to a full poured slab. Piers need to be sized according to local frost depth and soil-bearing capacity, so a soil test early in planning avoids under-sizing the footings. This foundation type also leaves the underside of the container accessible for running plumbing and electrical lines.
7. Rooftop Deck on Container Roof
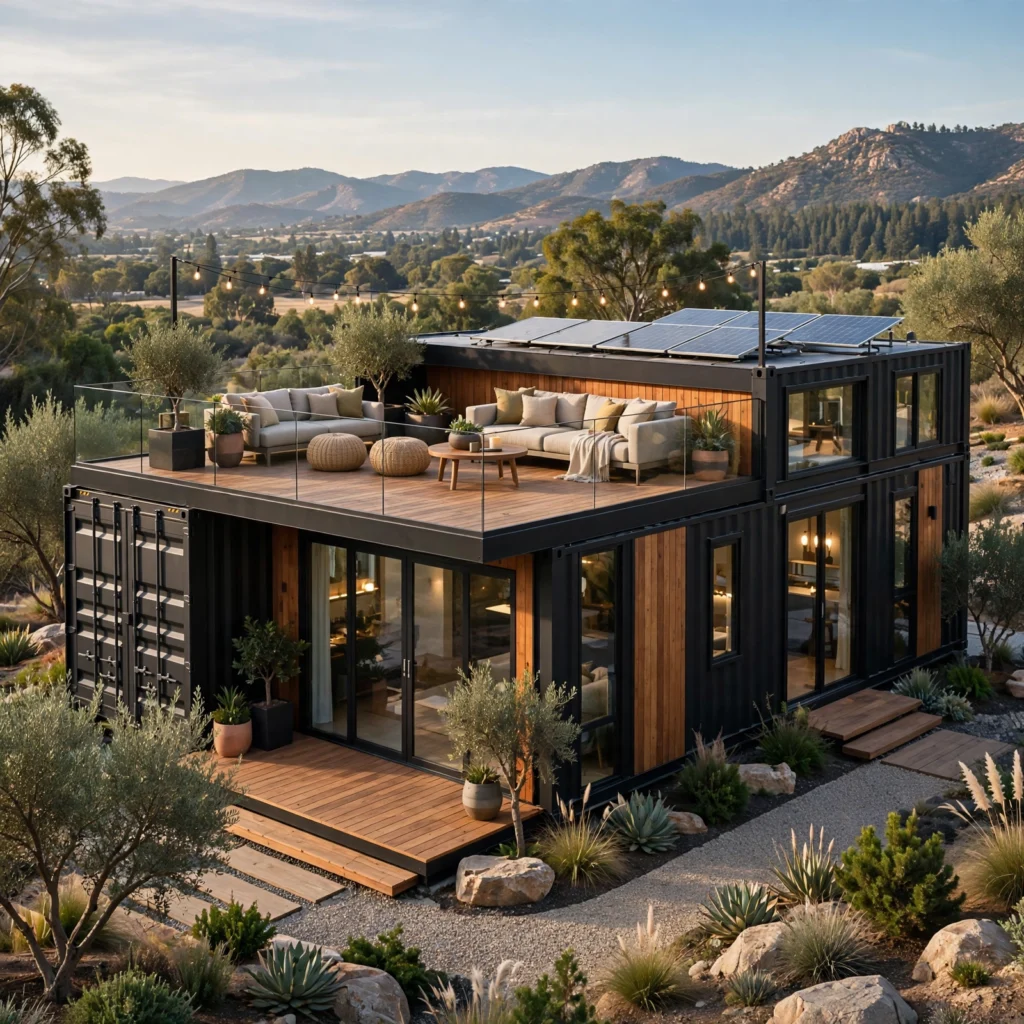
A container’s flat steel roof can support a rooftop deck when the structure is reinforced with a secondary steel or wood framing layer to distribute foot traffic load evenly across the corrugated surface. Install a fully sealed waterproof membrane before adding a raised paver or composite decking system, since any deck penetration into the roof steel needs to be flashed carefully to avoid leaks into the living space below.
8. Modular Container Expansion
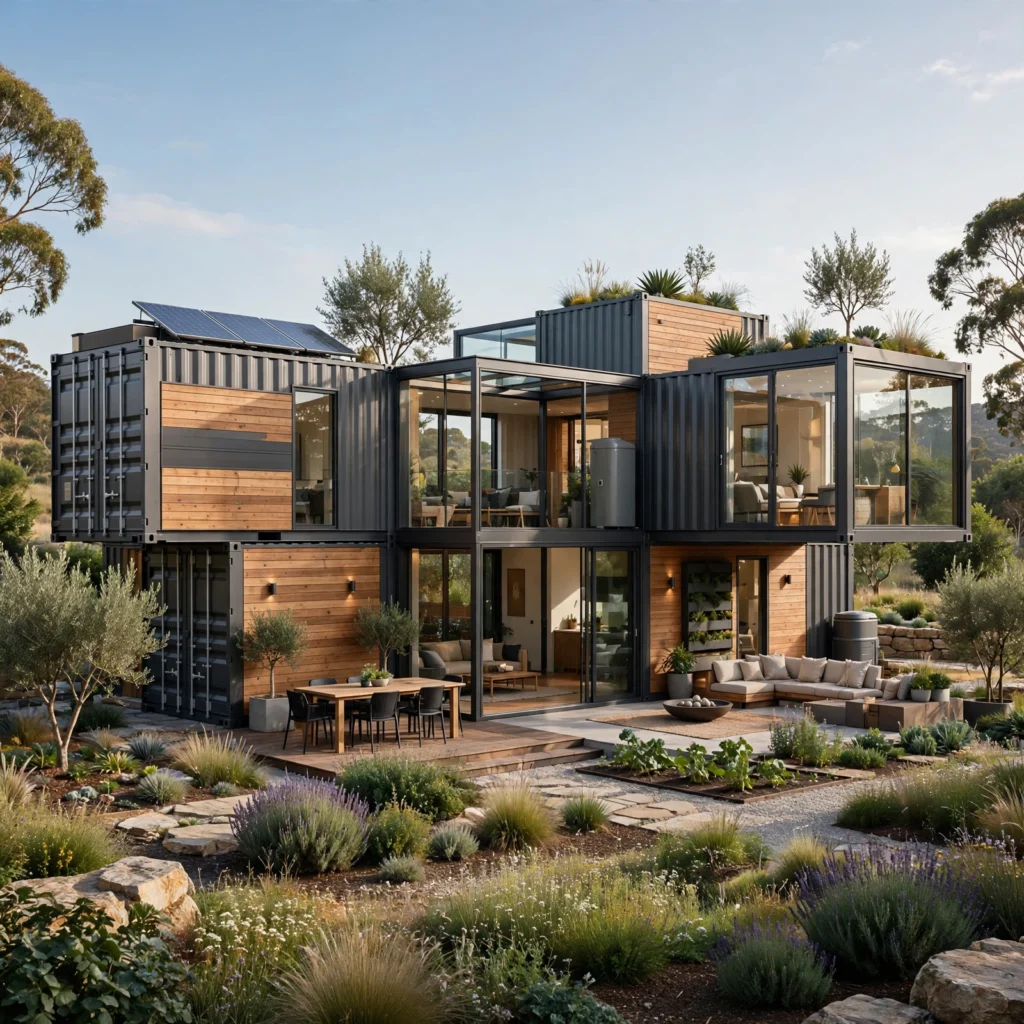
Designing a container house with future modular expansion in mind, using consistent container widths and pre-planned connection points, allows additional units to be added later without redesigning the existing structure. Leave one wall section per container un-clad and easily accessible for the eventual connection, and route utility lines with extra capacity from the start rather than sizing systems only for the initial build.
9. Container House Design Moodboard
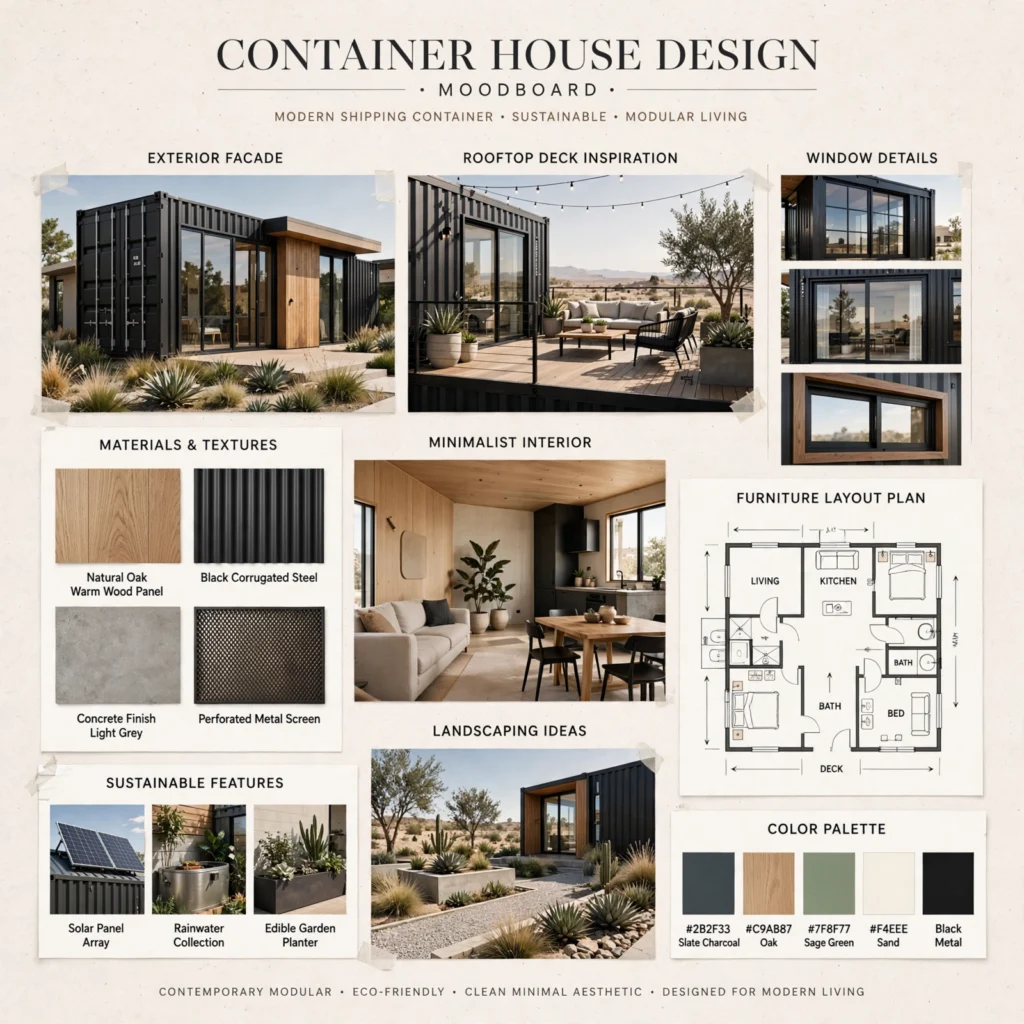
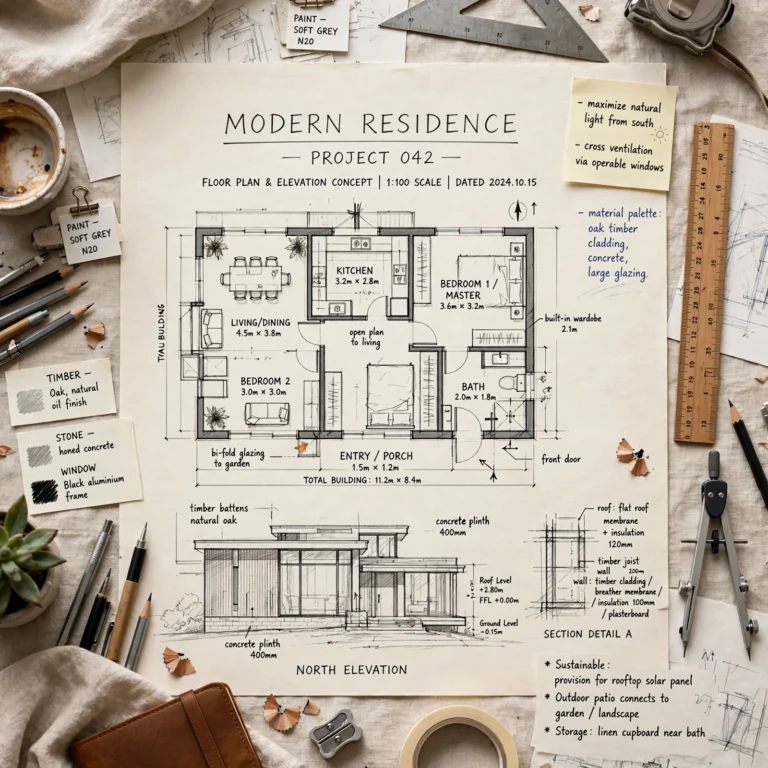
A moodboard acts as a rotating planning tool where you pin material samples, cladding swatches, and layout sketches while a container build comes together over several months. Build one from a cork panel wrapped in linen, framed with thin black metal trim, and review it regularly during the planning phase so cladding, window, and interior finish choices stay consistent across every container in the build. Pinning samples here early makes mismatched finishes obvious before ordering.
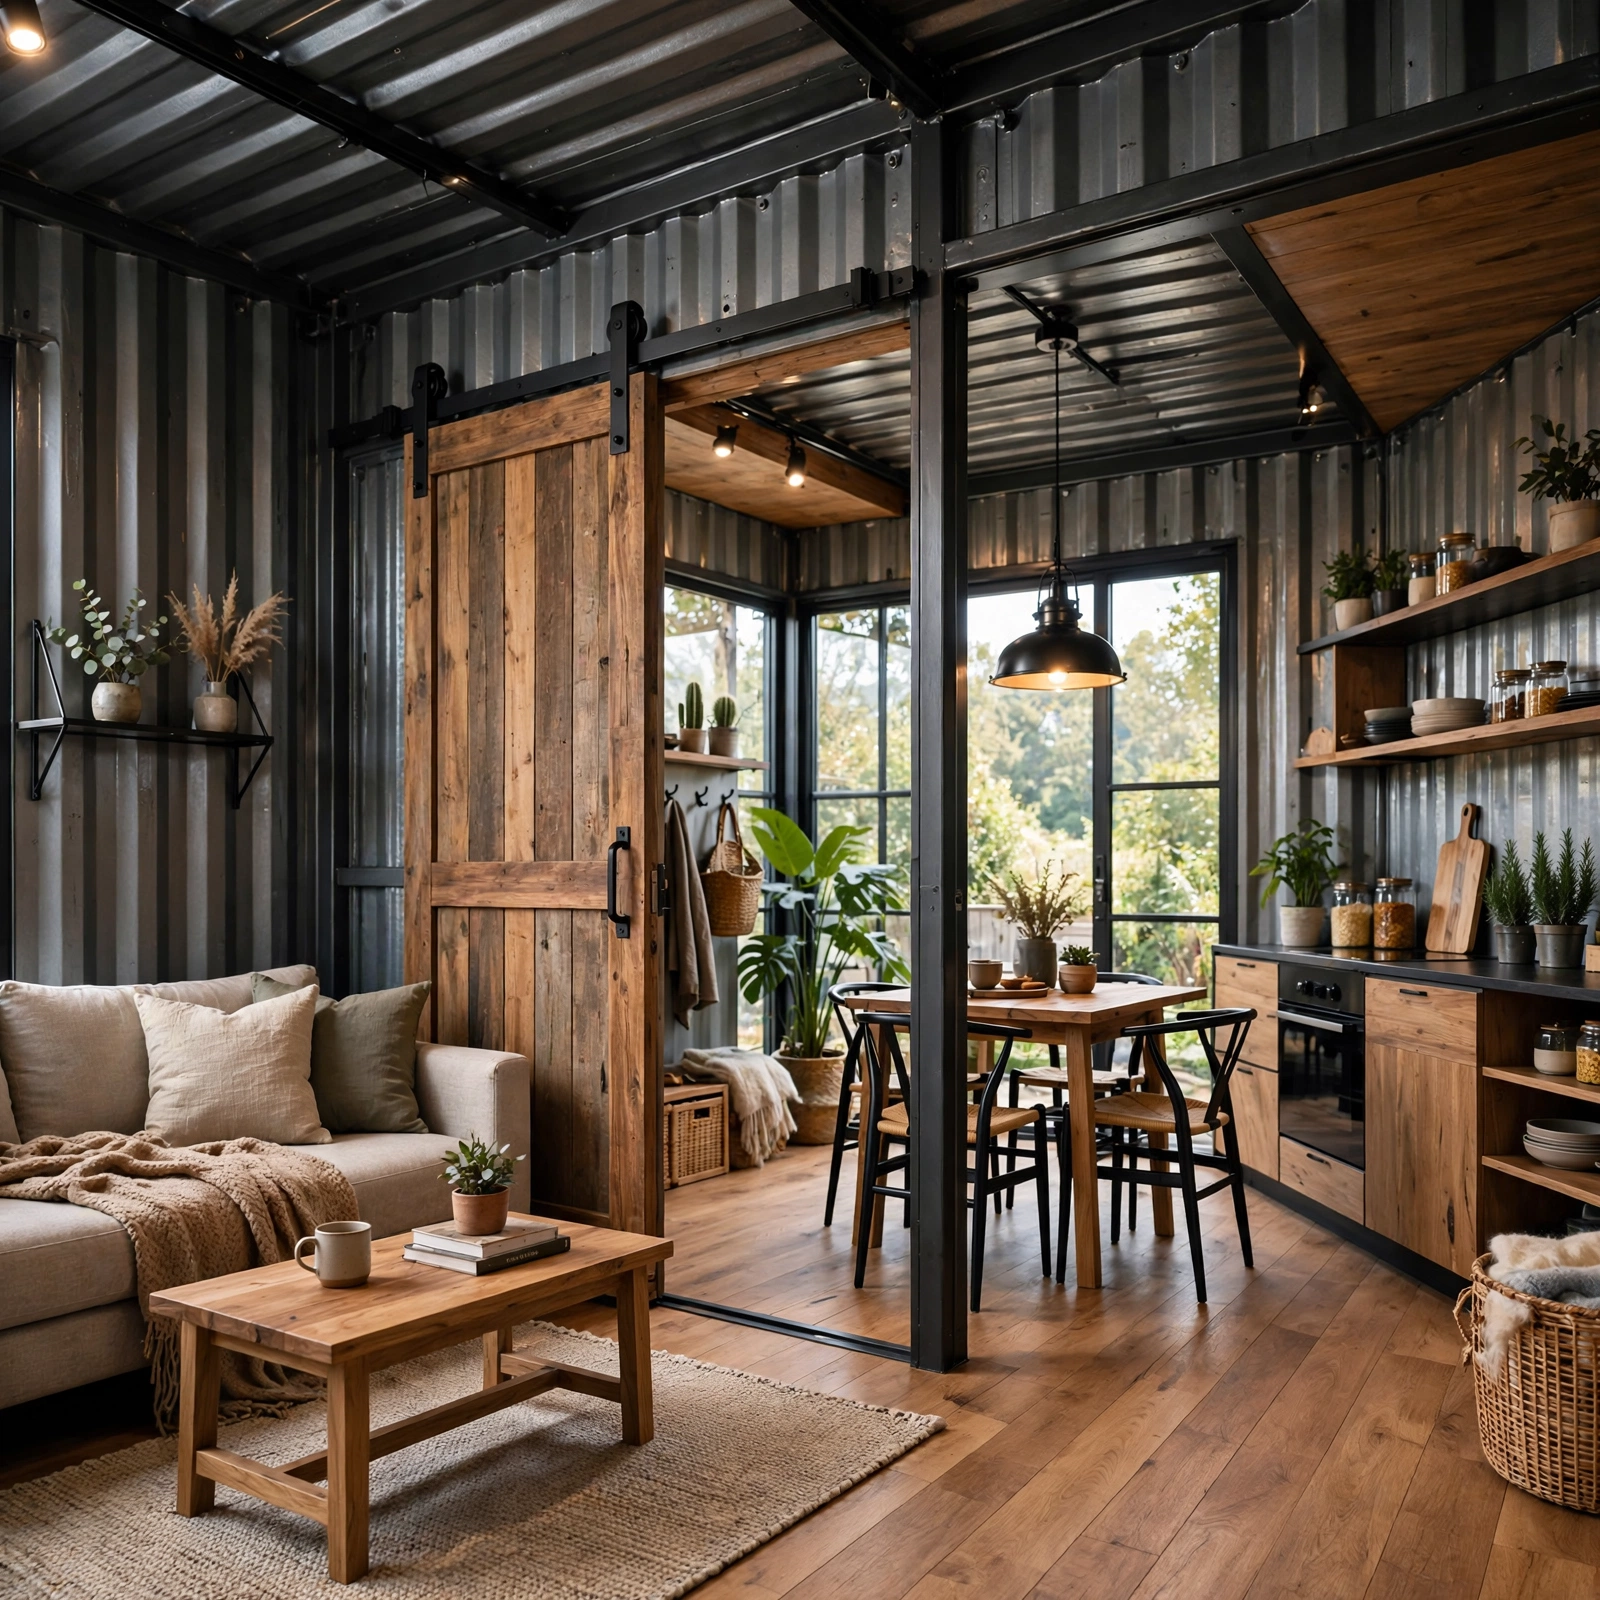
10. Exposed Corrugated Interior Walls
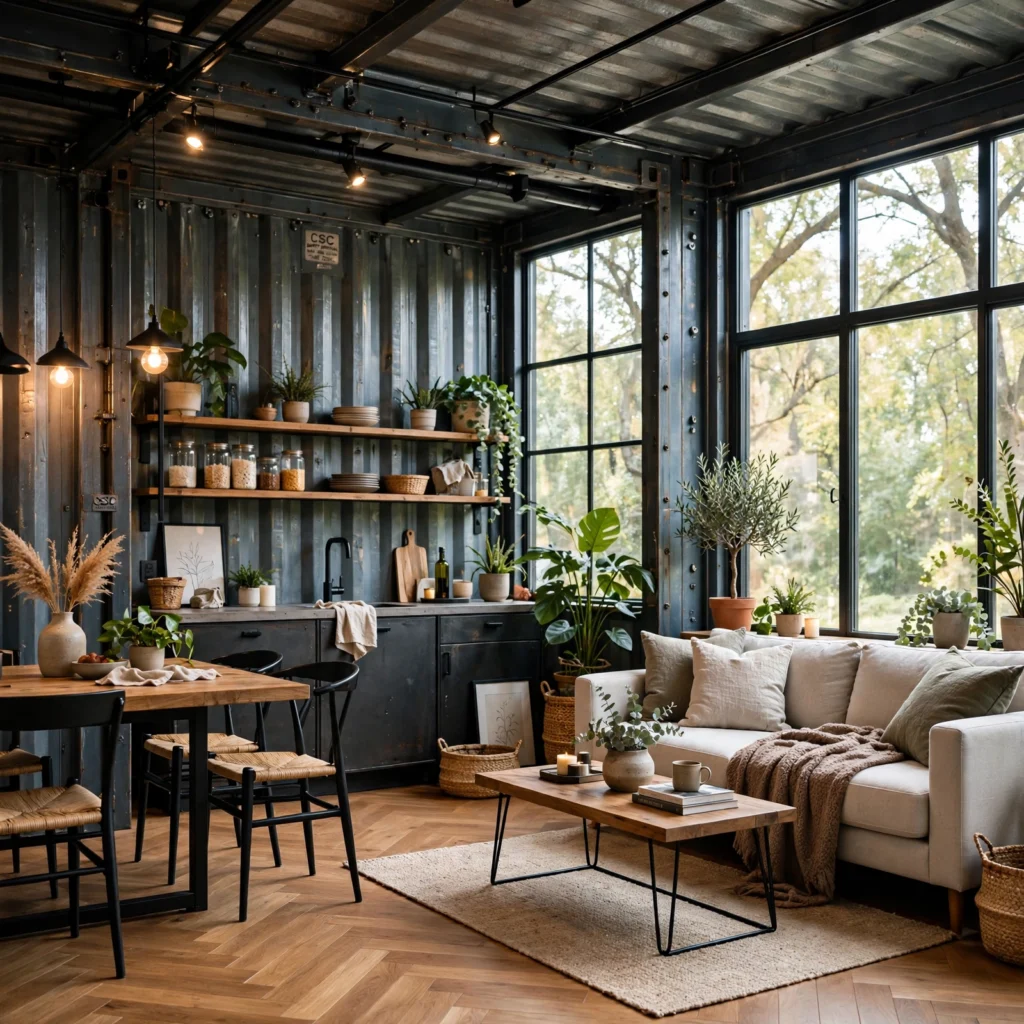
Leaving one interior wall’s corrugated steel profile exposed and painted, rather than covering every surface with drywall, keeps a visible connection to the container’s industrial origin while still finishing the space. Clean the steel thoroughly and apply a rust-inhibiting primer before a finish coat, since any moisture trapped under paint on untreated steel will eventually cause bubbling. This approach also saves on furring and drywall material for that one wall.
11. Container Kitchen Galley Layout
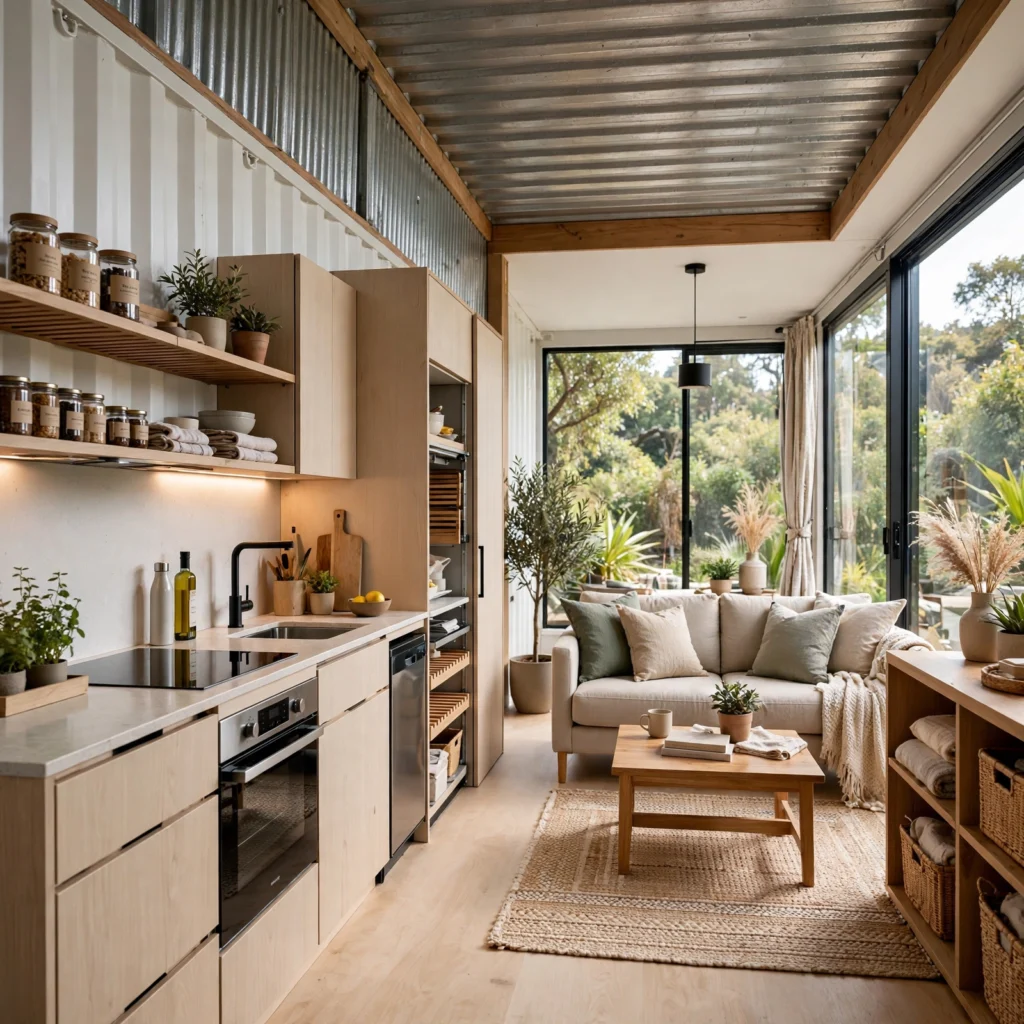
A galley layout, with cabinetry and appliances run along both long walls of the container, makes efficient use of the standard eight-foot width without wasting space on a center island the footprint can’t support. Position the refrigerator and range on opposite walls from the sink run so the primary work triangle doesn’t force awkward crossing patterns in the narrow space, and use slim-depth 18-inch cabinets rather than standard 24-inch depth to preserve walking clearance.
12. Off-Grid Solar Container Setup
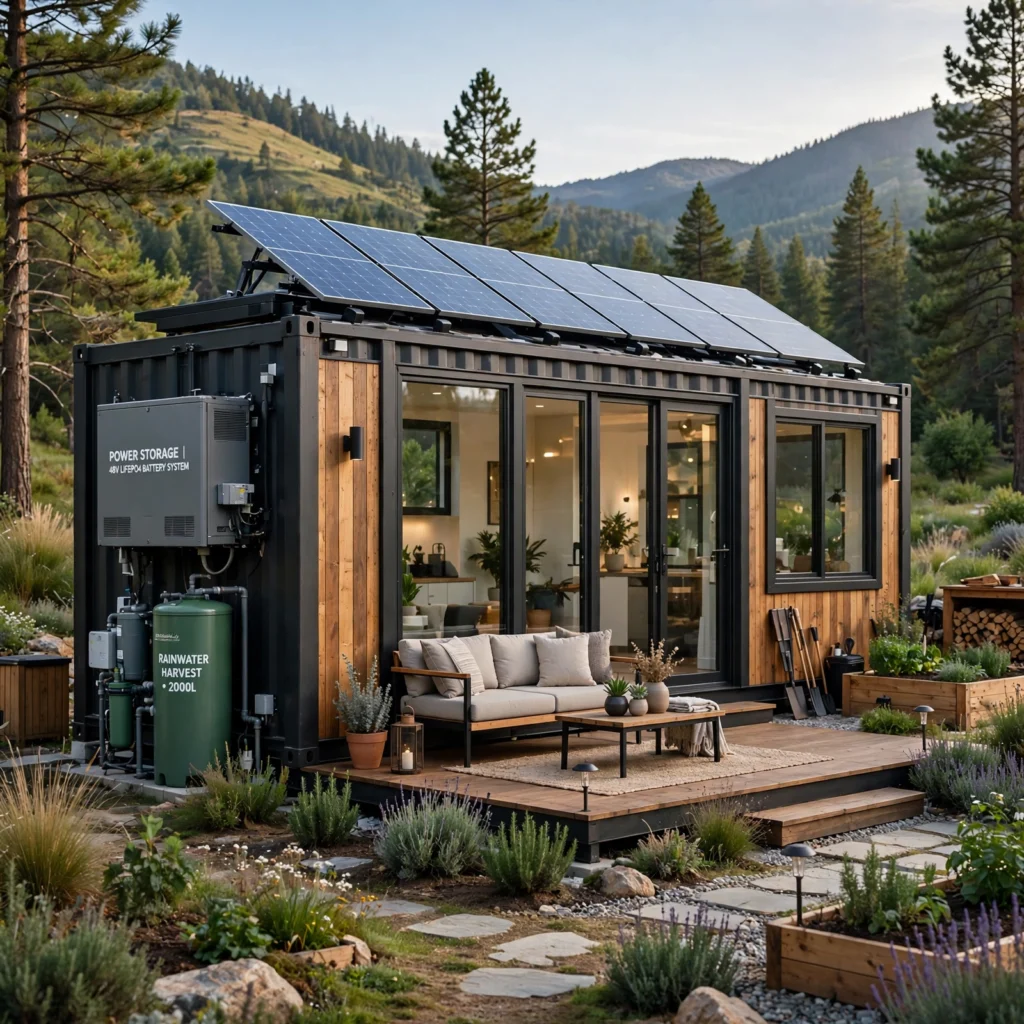
Mounting a solar array directly on a container’s flat roof, paired with a battery bank housed in a dedicated insulated compartment, supports fully off-grid operation for remote container builds. Size the array based on actual appliance load rather than square footage alone, since a well-insulated container often needs less heating and cooling capacity than a comparably sized stick-built home. Route conduit through the roof using properly flashed penetrations to avoid compromising the weatherproofing.
13. Container Pool Conversion
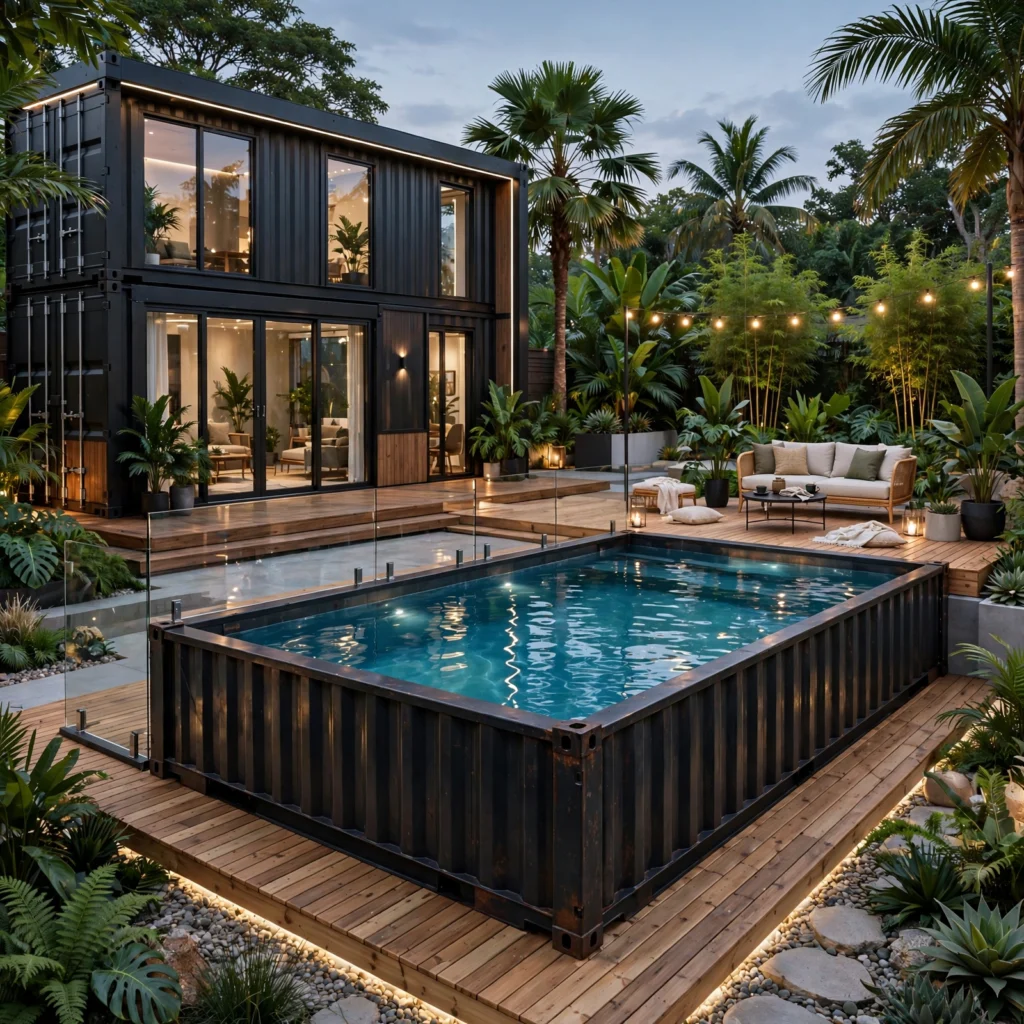
A separate shipping container, cut open along the top and lined with a waterproof coating or liner, converts into a compact plunge pool that pairs well with a container house’s aesthetic. Reinforce the container’s sides internally before cutting, since removing the top significantly reduces the structure’s rigidity, and always consult a structural engineer for the modification. This project works best as a standalone accessory unit rather than as part of the primary living container.
14. Sliding Barn Door Partitions
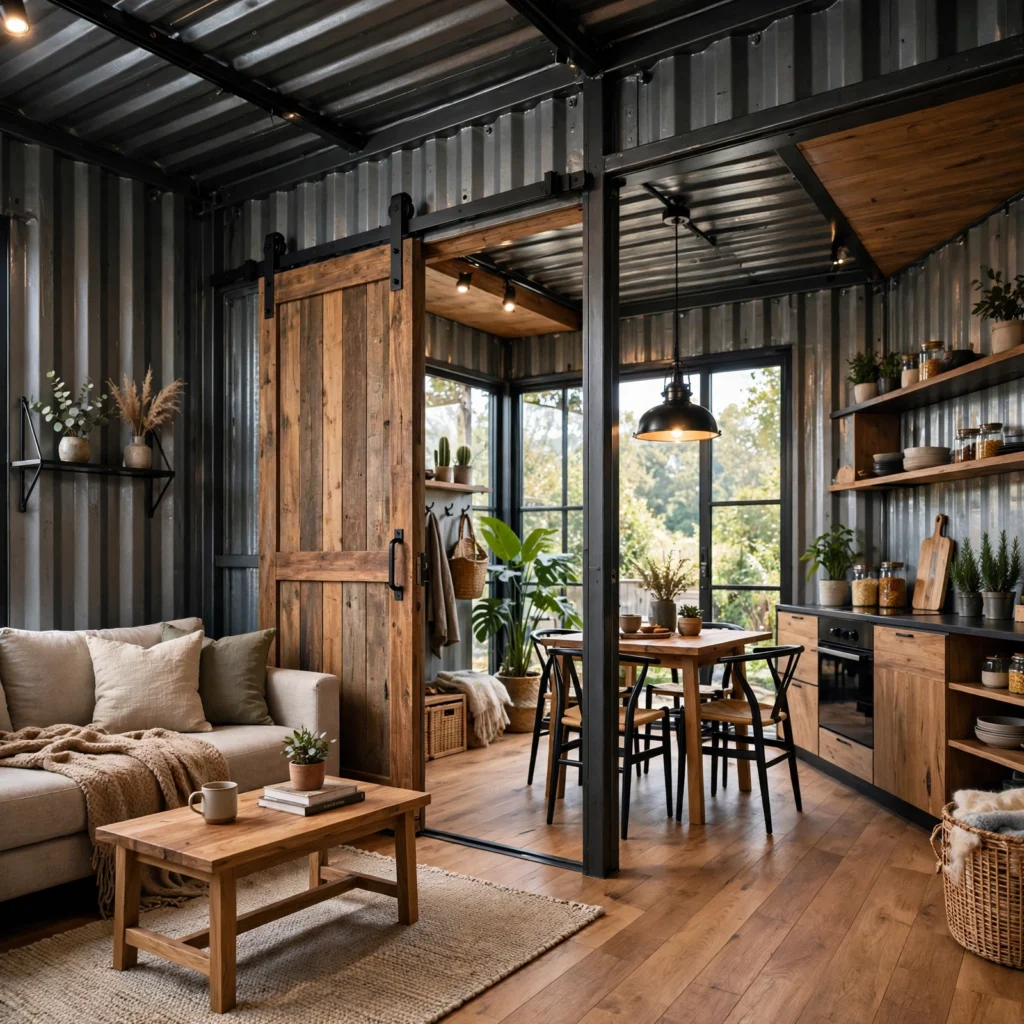
Sliding barn-style doors on an exposed track make efficient use of a container’s limited width by eliminating the swing clearance a standard hinged door requires. Mount the track directly to the furring strip wall above the opening, and choose a slim steel or black-painted track hardware set that matches the exposed corrugated interior wall aesthetic if that finish is used elsewhere. This partition style works especially well between a sleeping area and a bathroom in a single-container layout.
15. Container Home Deck Extension
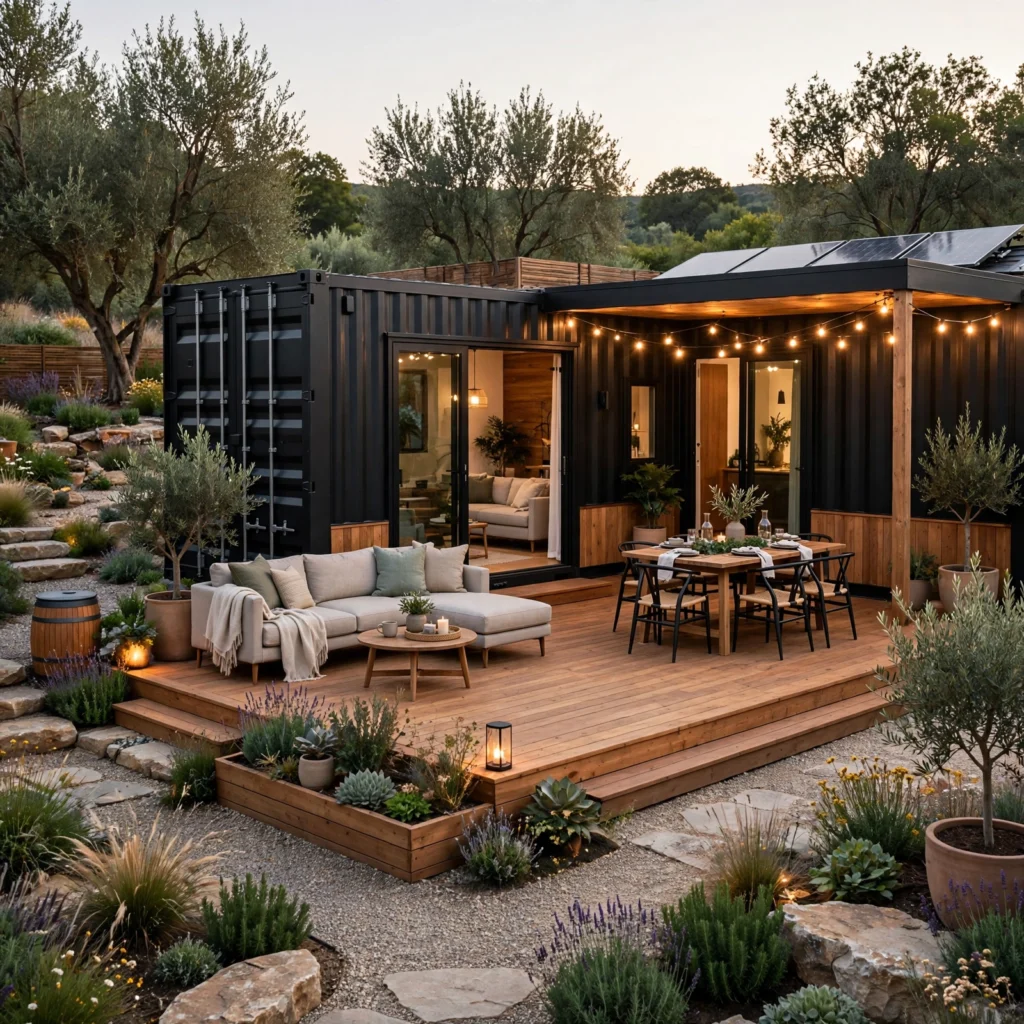
A wood or composite deck attached to the container’s entrance extends usable living space outward without adding to the structure’s footprint or requiring additional steel reinforcement. Build the deck as an independent structure on its own footings rather than attaching it directly to the container walls, which avoids transferring deck load onto the container’s frame. This also simplifies future modular expansion, since the deck won’t need to be removed to add another container unit.
Shop the Look
A few specific products make these projects easier to specify well. SIP panel systems from Insulspan can be adapted for container roof and wall applications where spray foam alone isn’t sufficient. Fenix NTM and similar compact panel siding products work well for the cladding idea, offering a modern finish rated for exterior use. For the off-grid solar setup, Renogy’s all-in-one solar kits are commonly sized correctly for single or double container loads. Rustoleum’s rust-inhibiting primer line is a reliable choice for prepping exposed corrugated interior walls before painting.
Common Mistake to Avoid
The most common mistake in container house design is treating the container as a finished structure rather than a steel shell that needs the same insulation, moisture management, and structural planning as any other building material. Skipping proper spray foam insulation or cutting large window openings without engineered reinforcement leads to condensation problems and structural weak points that are expensive to fix after the fact. Budgeting for professional structural review on any wall cuts, even on a single-container build, avoids costly rework later.
People Also Ask
Is a container house cheaper to build than a traditional house?
Container houses can cost less than traditional construction primarily due to a faster build timeline and reduced framing labor, though savings vary significantly based on cladding, insulation, and finish choices. A basic single-container build might run $150 to $250 per square foot, while a highly finished multi-container home can approach or exceed traditional construction costs. The container shell itself is inexpensive, but insulation, structural reinforcement for window cuts, and finishing work often account for most of the total budget.
How many shipping containers do you need to build a house?
A small studio can work with a single 40-foot container, offering roughly 320 square feet of interior space, while a modest two-bedroom home typically uses three to four containers arranged in a stacked or side-by-side configuration. Larger container homes combining six or more units are increasingly common for full-size family houses. The exact number depends on desired square footage, since combining containers always sacrifices some floor area to the walls between connected units.
Do container houses need special insulation?
Yes, container houses require insulation specifically suited to corrugated steel, since standard batt insulation can trap moisture against metal and lead to condensation and rust over time. Closed-cell spray foam is the most common solution because it adheres directly to the steel and functions as both insulation and a vapor barrier in a single application. Skipping proper insulation is one of the most frequent and costly mistakes in container house design, particularly in humid or cold climates.
Can you stack shipping containers to build a two-story house?
Yes, containers are engineered to stack, since that’s their original function during ocean shipping, but any wall sections removed on the lower container require welded steel beam reinforcement to safely carry the load above. A structural engineer should confirm the reinforcement plan before any cutting begins, and the foundation needs to be sized for the combined weight of both levels rather than just the ground-floor unit alone.
How long does it take to build a container house?
A single-container build with standard finishes typically takes two to four months from foundation to move-in, considerably faster than a comparable stick-built home. Multi-container or stacked configurations extend that timeline due to additional structural reinforcement and utility coordination between units, often taking four to eight months. Permitting timelines vary widely by jurisdiction and can add several months on top of actual construction time in areas less familiar with container structures.
Conclusion
These fifteen container house design ideas show that a successful build depends on treating the steel shell as a starting point, not a finished structure, and planning insulation, cladding, and structural reinforcement accordingly. Start with a single-container layout if it’s your first build, then consider stacked or modular configurations once the fundamentals of insulation and cladding are dialed in. If this guide helped, save it to Pinterest for your next planning session, or check out our related post on modern house design ideas for exterior styling that pairs well with a container build.
Author Expertise Note
This guide draws on several years spent researching structural and insulation specifications for alternative construction methods, including direct conversations with container fabricators and structural engineers. Every cost range and material reference above reflects current supplier pricing rather than manufacturer list price.